This blog has been written as a homework assignment for the Middle East Technical University 2025–2026 CENG 795 Special Topics: Advanced Ray Tracing course by Şükrü Çiriş. It aims to present my raytracer repository, which contains the code developed for the assignment.
Homework 4
Newly Added Features For Homework 4
- Image Textures: Support for PNG and JPEG files using nearest and bilinear interpolation.
- Perlin Noise: Procedural textures with multi-octave turbulence, noise scaling, and absolute/linear conversion.
- Checkerboard Texture: Procedural 3D pattern with configurable scale, offset, and colors.
- Decal Modes: Support for diffuse (replace_kd, blend_kd), specular (replace_ks), and color override (replace_all).
- Normal and Bump Mapping: Surface detail enhancement using tangent space normal maps and height-based bump maps.
- Background Textures: Replacement of the global background color with texture mapping.
- Texture Coordinates: Implementation of UV coordinate data for triangles and meshes.
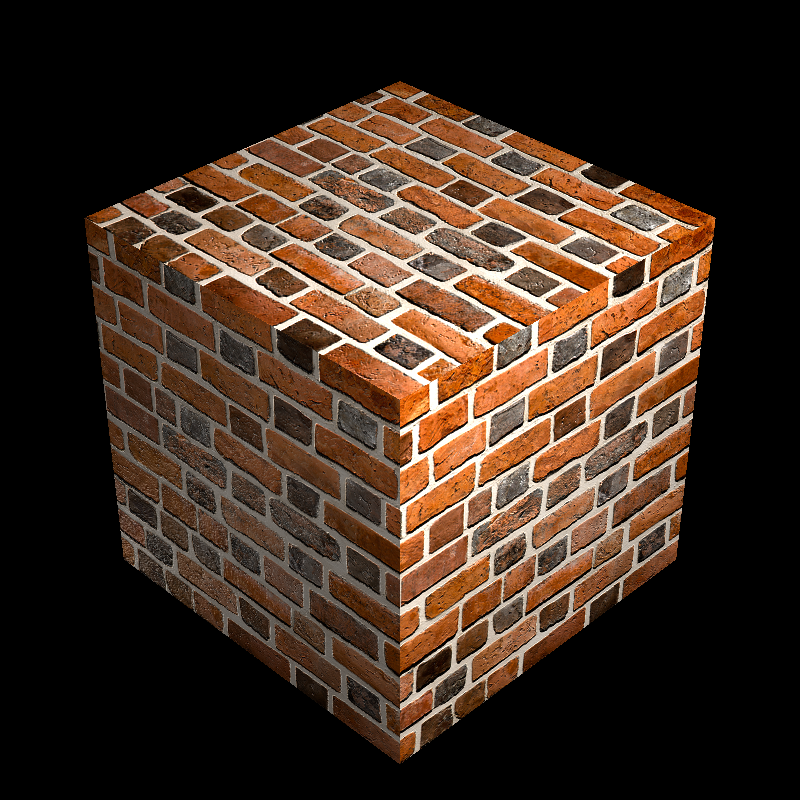
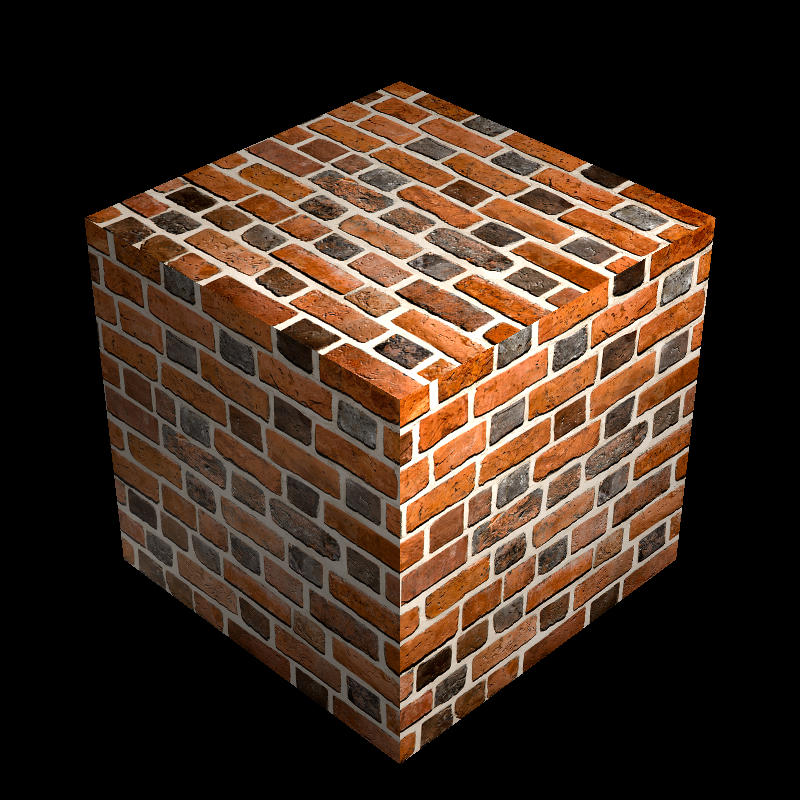
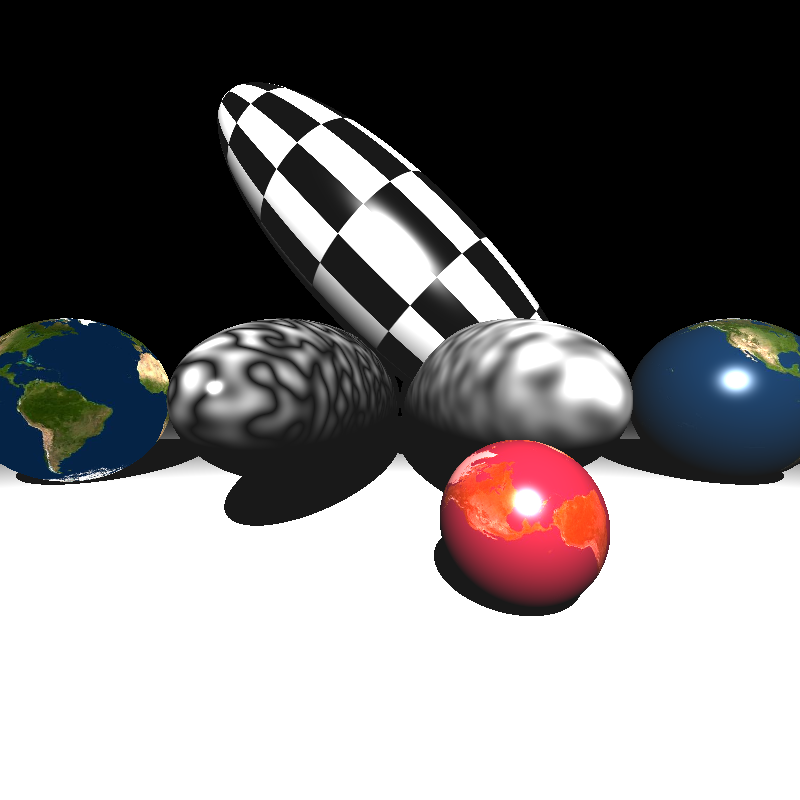
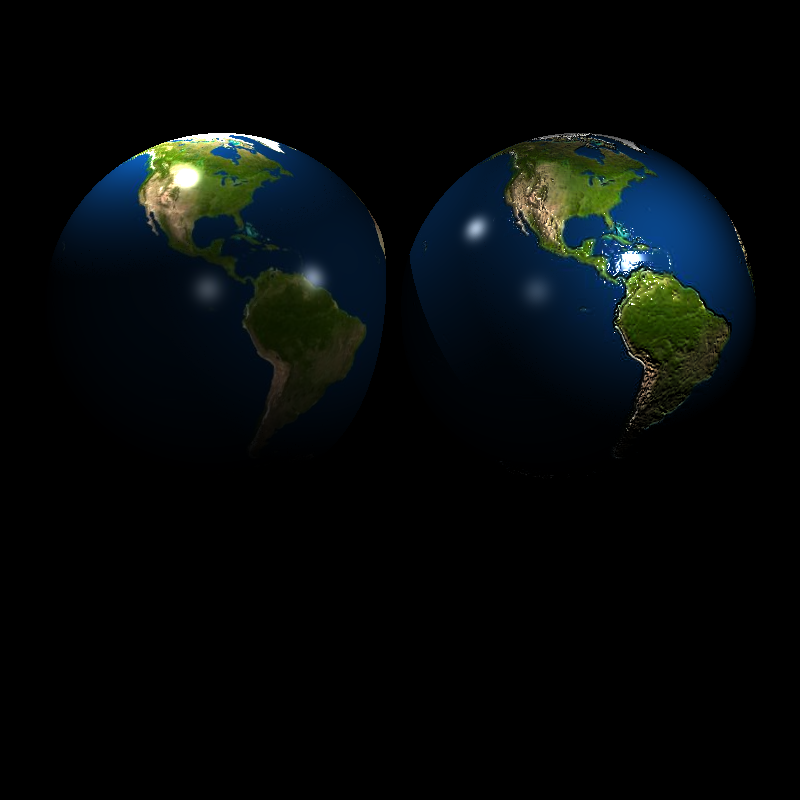
Image Textures
I added image textures to make surfaces look more realistic. I use the stb_image library to load PNG and JPEG files into my program. When a ray hits an object, I find the 2D coordinate on the image and pick that color. To keep the images from looking pixelated when you get close, I implemented bilinear interpolation. This method calculates the floor of the coordinates and averages the four nearest pixels to create a smoother look, and I use a modulo operation to make sure the texture wraps correctly around the object.
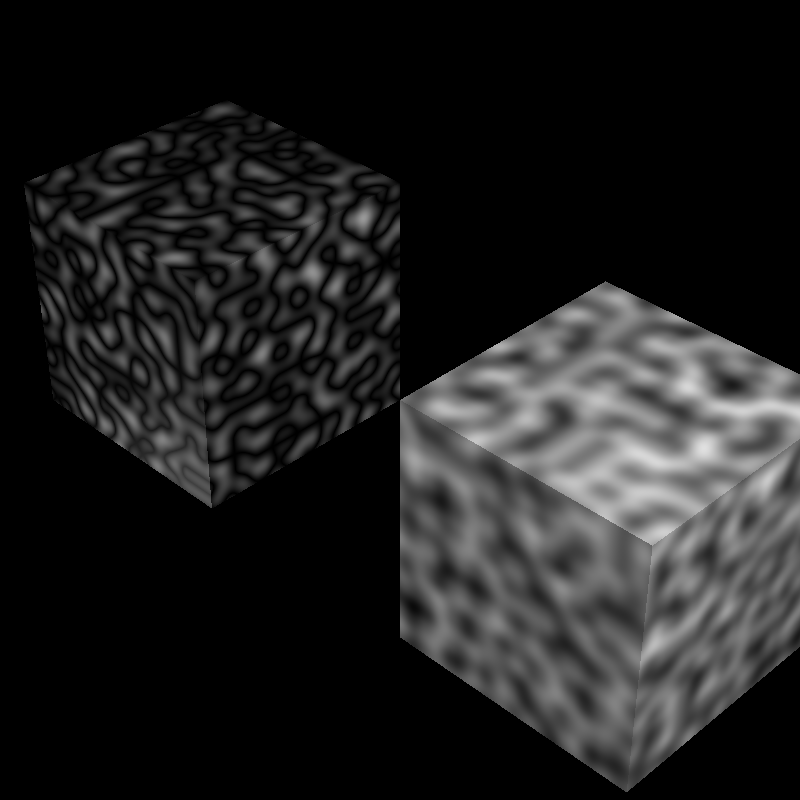
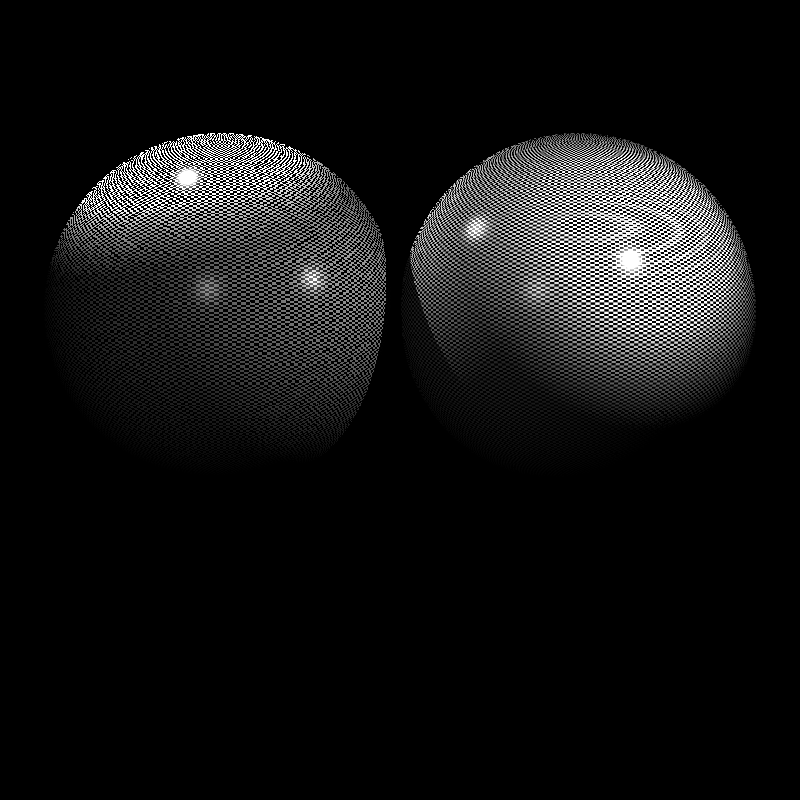
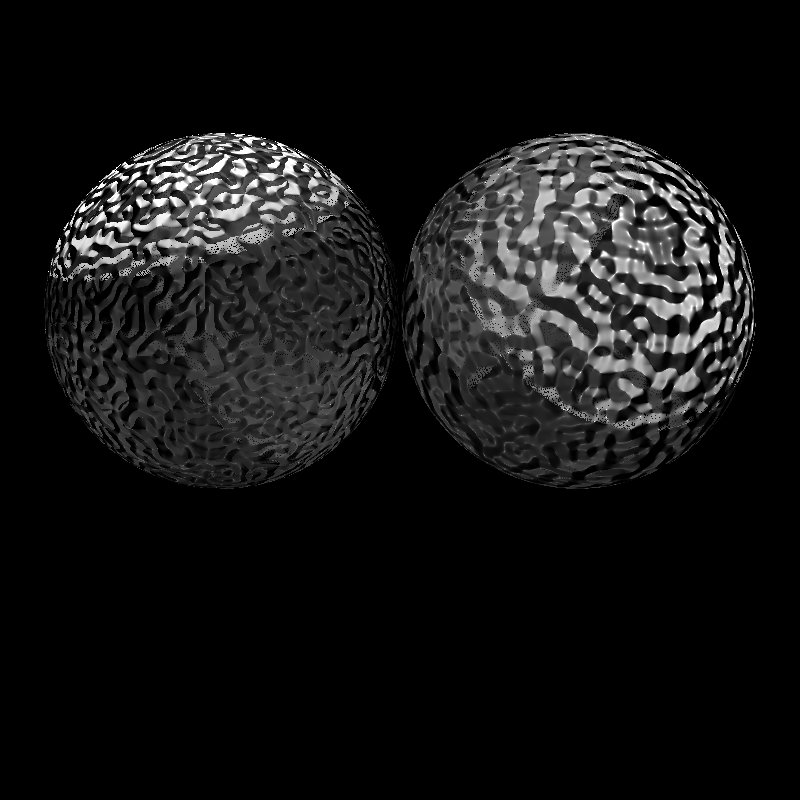
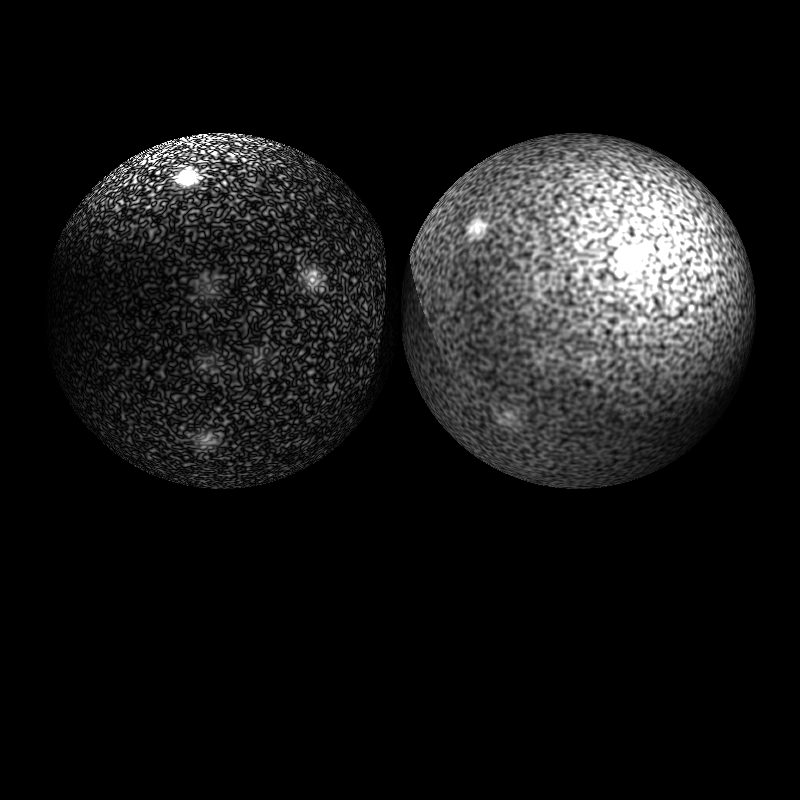
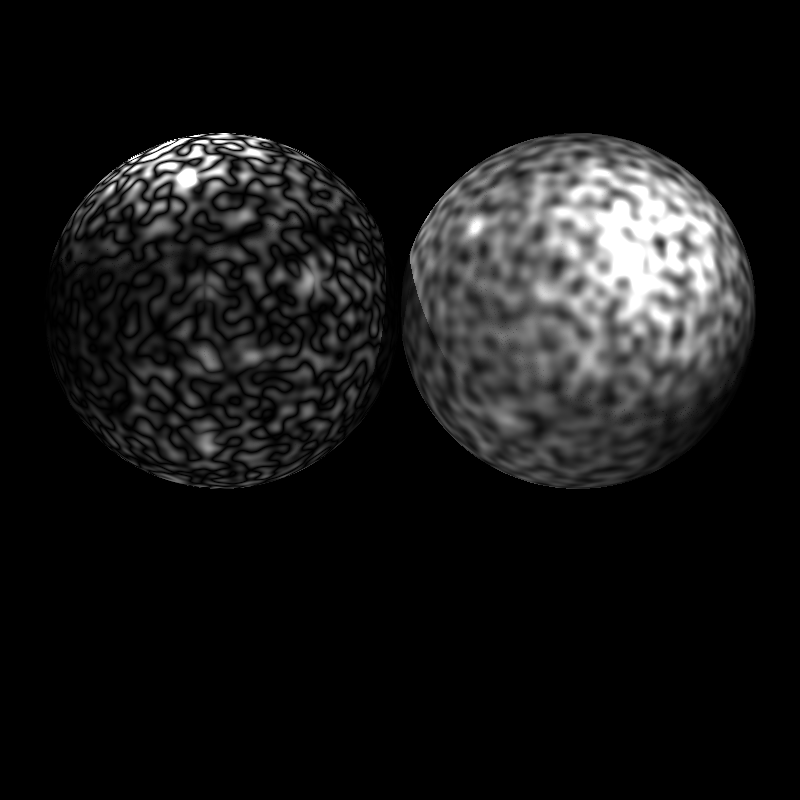
Perlin Noise
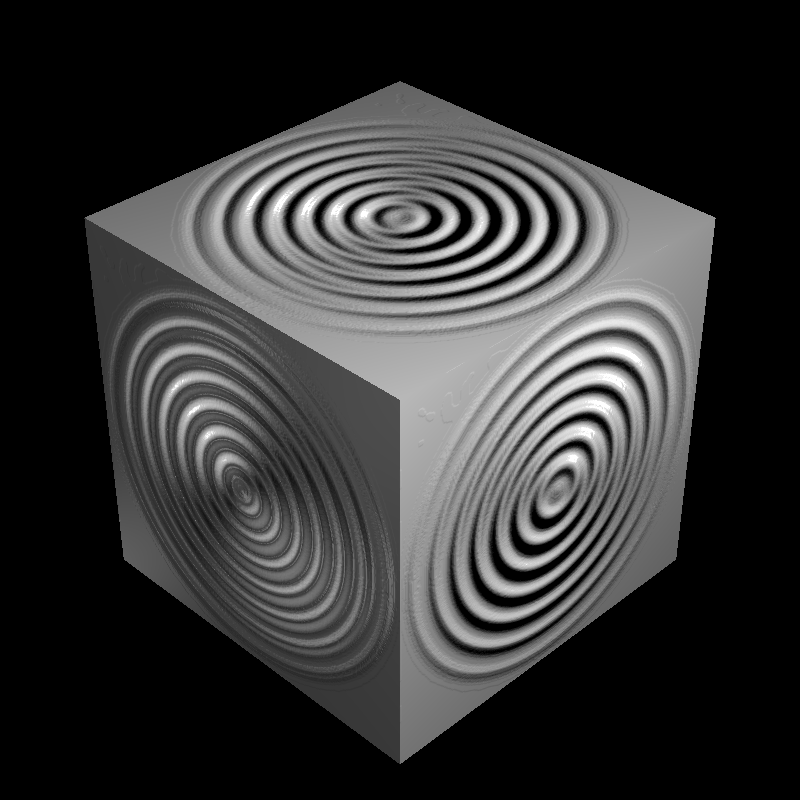
I implemented Perlin noise using math instead of image files. I calculate the noise value for every hit point based on its 3D position, modified by a NoiseScale to control the frequency of the pattern. By adding multiple octaves—where each layer has double the frequency but half the weight—I create a turbulence effect. I also added two conversion modes: absval for snake-like patterns and linear for spot-like patterns.
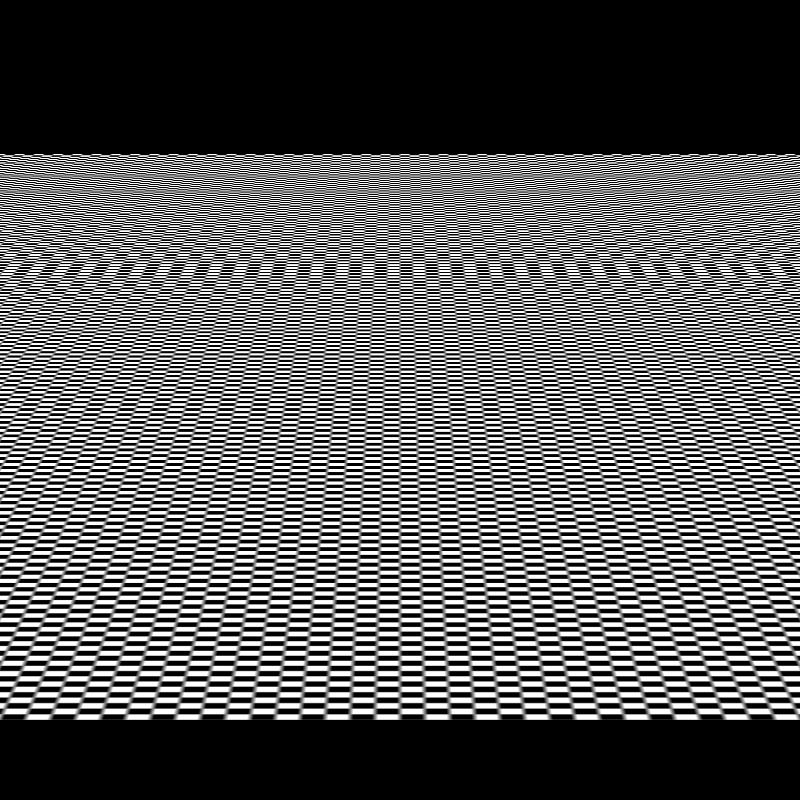
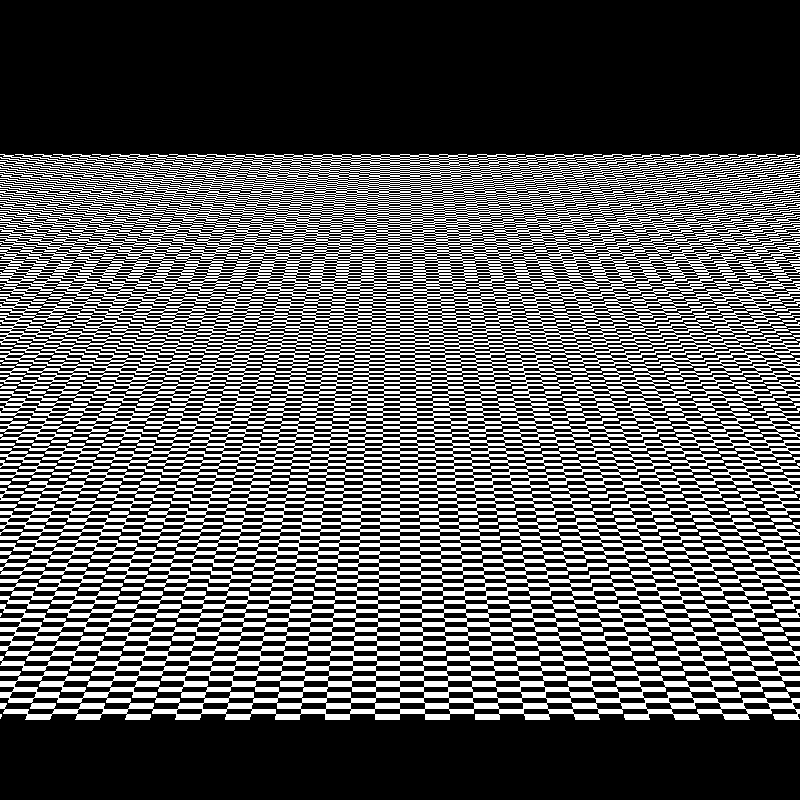
Checkerboard Texture
The checkerboard is a procedural texture that generates a grid pattern using a simple mathematical formula. I use the floor function on the hit point's coordinates and check if the result is even or odd to decide which color to show. This is very efficient because it doesn't need UV coordinates and can cover an infinite area, which is why I used it for the floor in my VeachAjar scene. My code allows for custom colors, scales, and offsets to move the pattern around in 3D space.
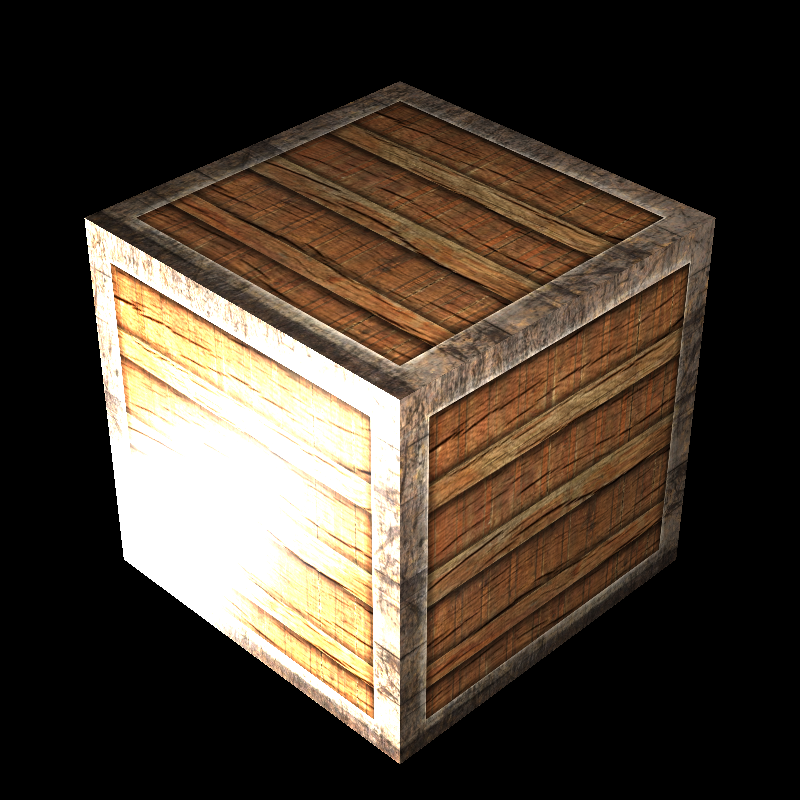
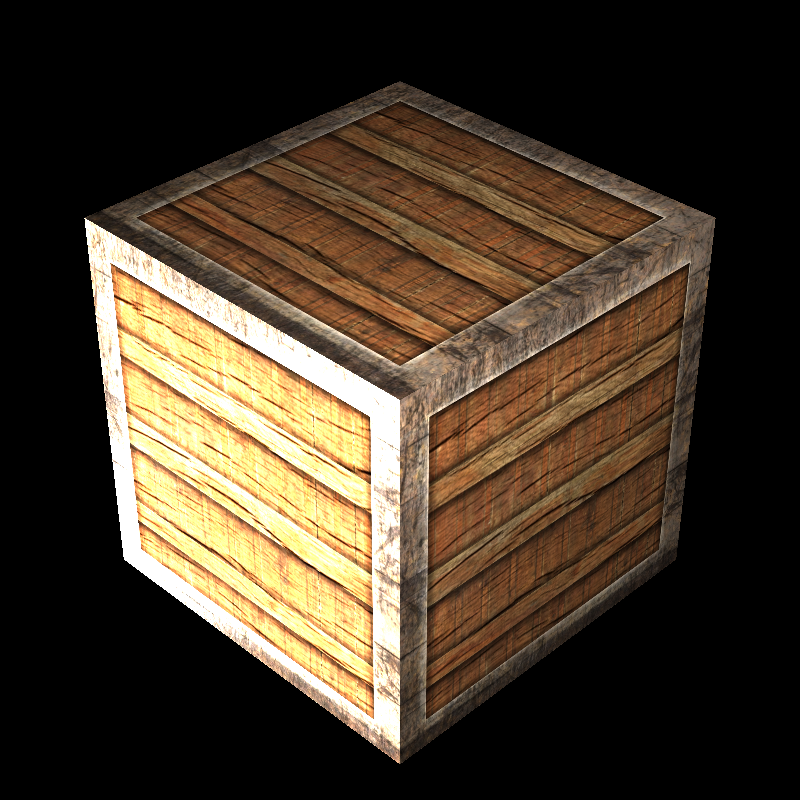
Decal Modes
I added different decal modes to my calculate_color function to control how a texture mixes with a material. For example, replace_kd sets the texture as the new diffuse color, while blend_kd takes the average of the material's base color and the texture color. I also implemented replace_all, which just pastes the raw texture color on the object and ignores all lighting math, making the object look exactly like the image regardless of shadows or highlights.
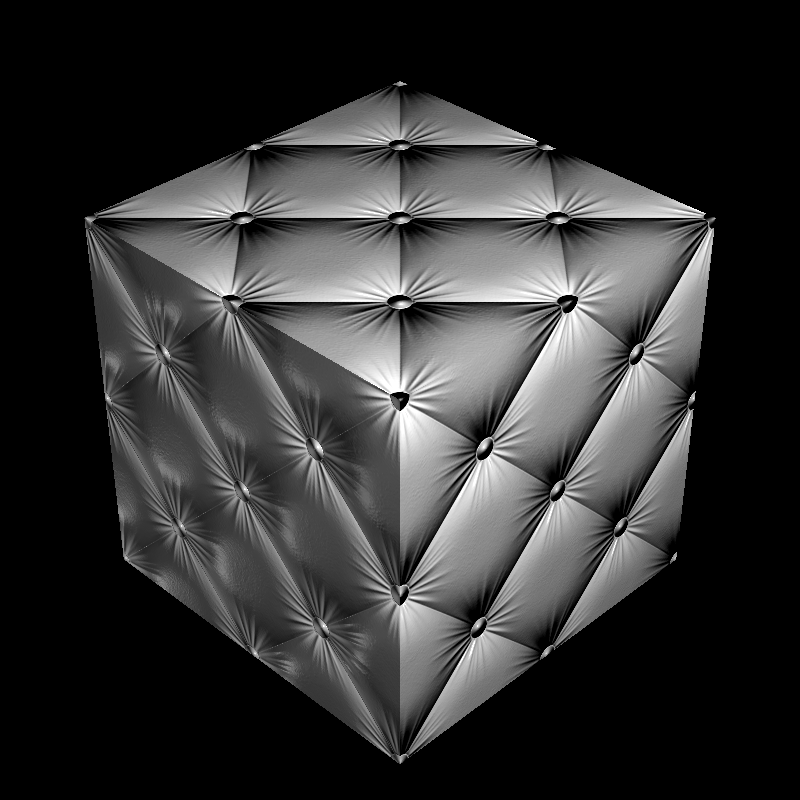
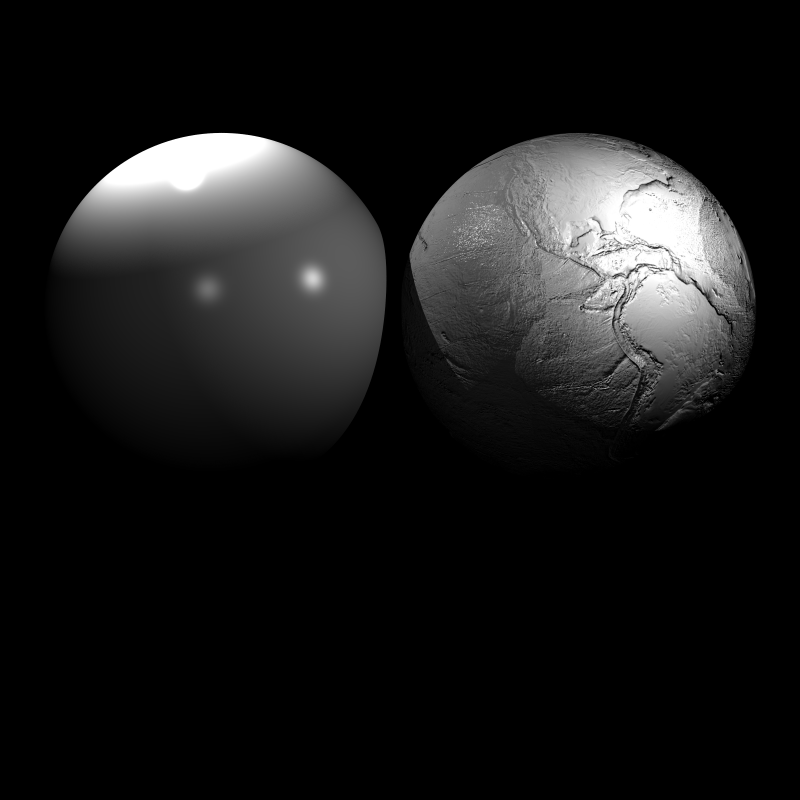
Normal and Bump Mapping
These techniques allow me to add small details like scratches or ridges to a smooth surface without changing the actual geometry. In normal mapping, I sample colors from a texture that represent vectors in tangent space and transform them to world space to change how light hits the surface. In bump mapping, I calculate a virtual height change by looking at the intensity of nearby texels or the gradient of Perlin noise. I use a BumpFactor to control how strong these bumps look in the final render.
Background Textures
I implemented background textures so that rays that miss all objects don't just see a single flat color. Inside my trace_rec function, if a ray doesn't hit anything, it samples the background texture based on the pixel's UV coordinates. This allows the scene to look like it is surrounded by a large environment image or a procedural sky, making the whole render look much more complete and professional.
Texture Coordinates and UV Interpolation
To map 2D images onto 3D shapes, I use texture coordinates, or UVs. I added TexCoordData to my parser to store these values for every vertex in my meshes. For triangles, I use barycentric interpolation to find the exact UV coordinate at the hit point by blending the values from the three corners. For spheres, I calculate the UVs based on spherical angles, while planes use their tangent and bitangent vectors to map the texture across their surface.
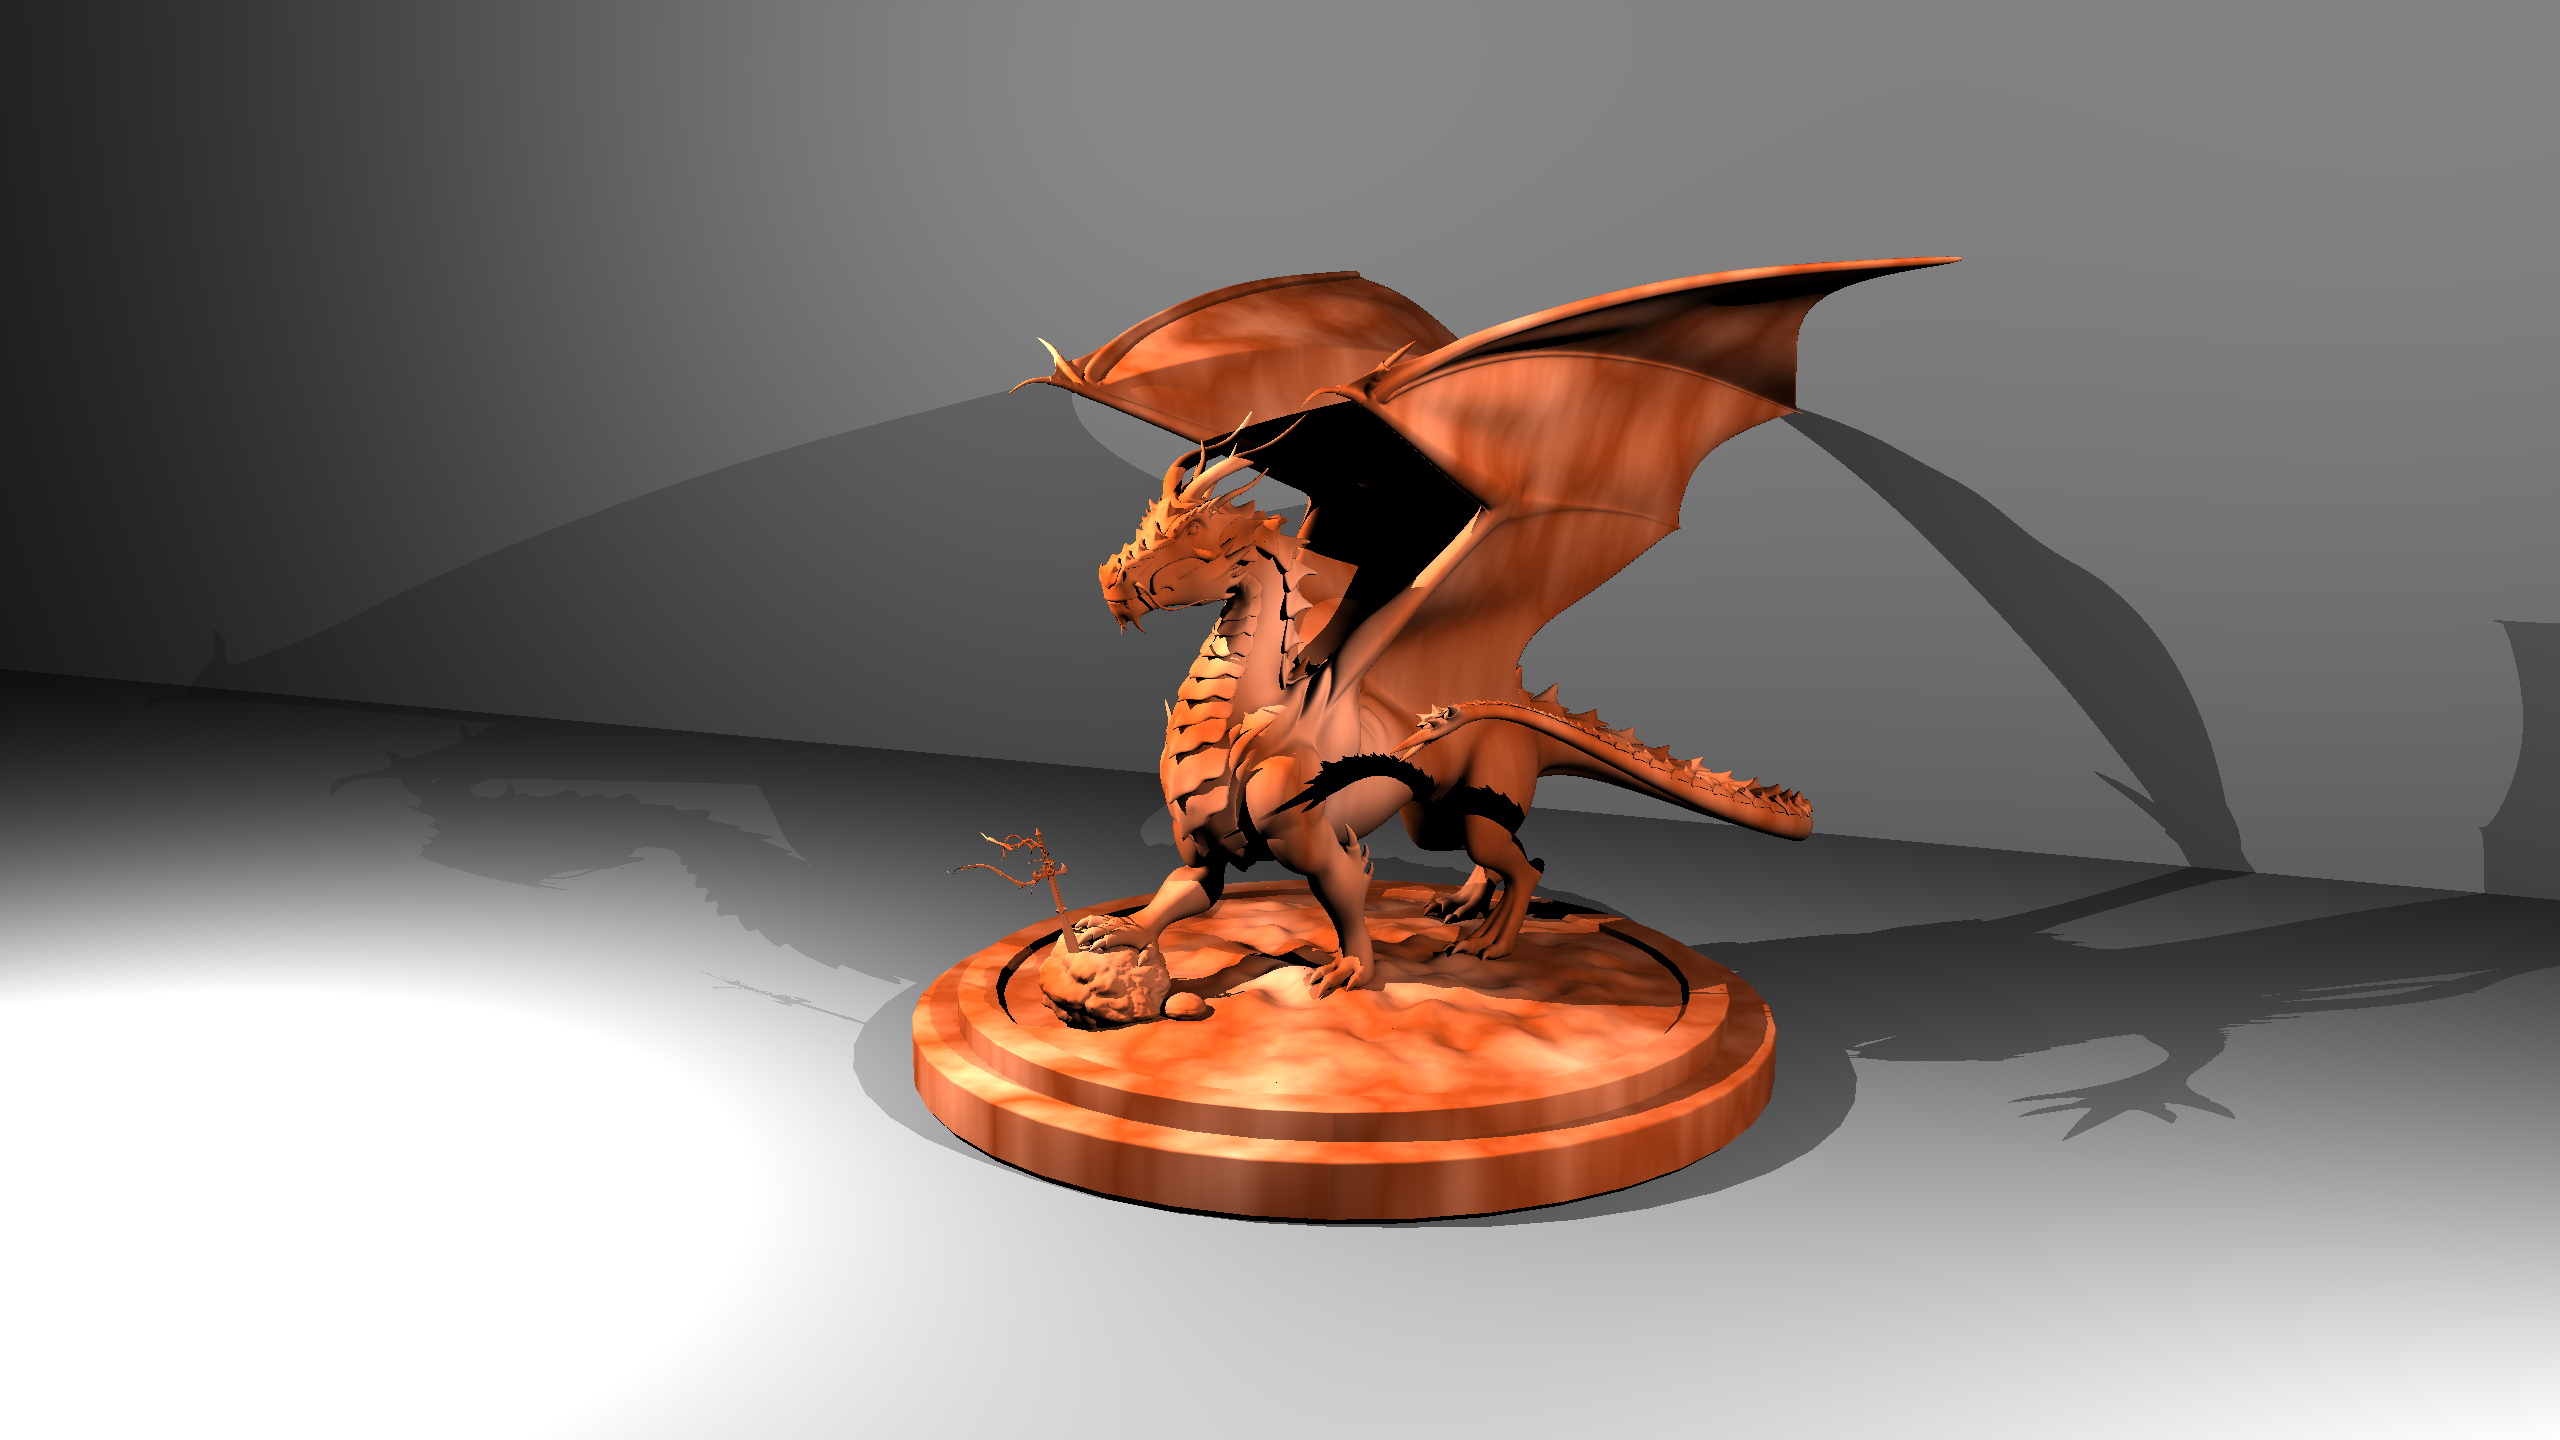
Resulting Images and Videos


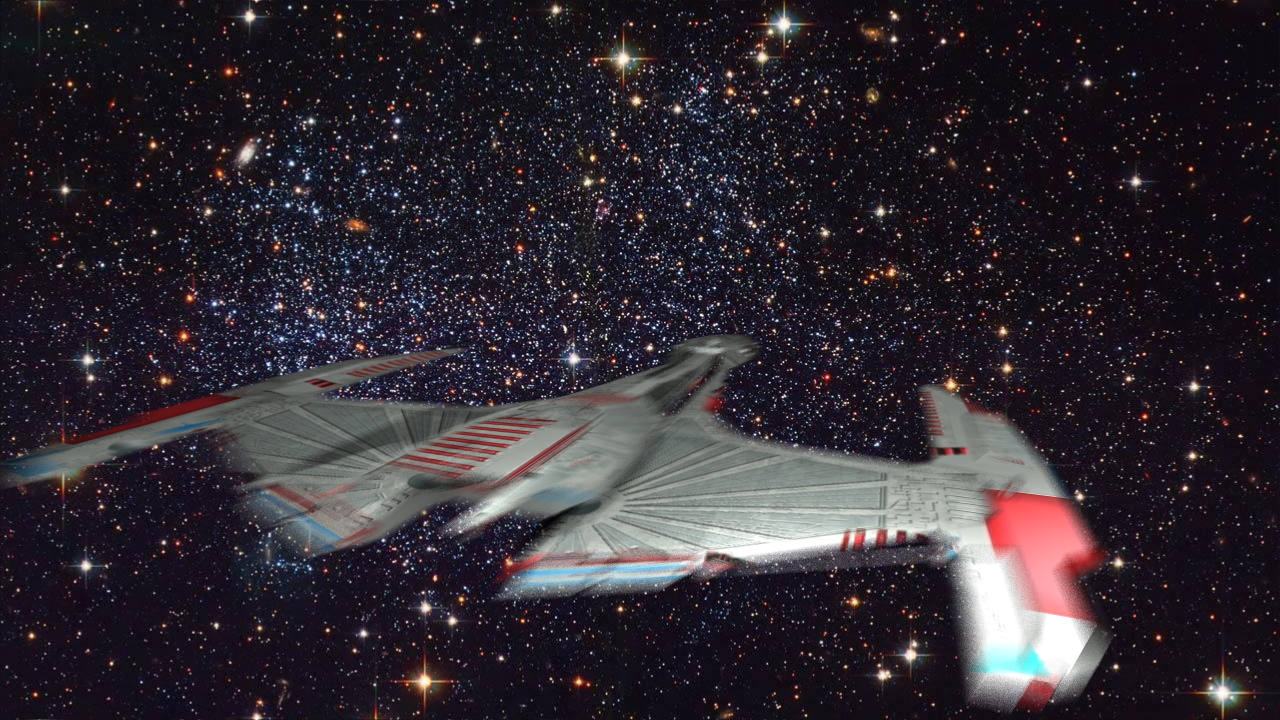


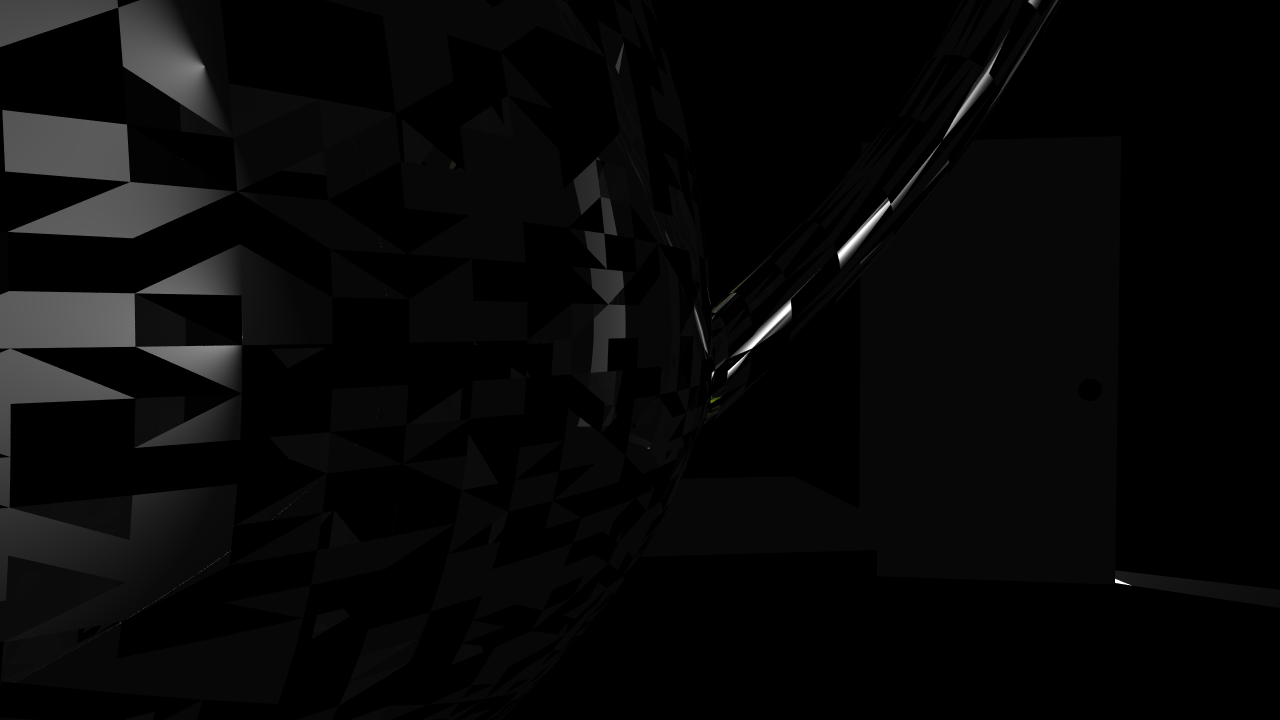

tunnel_of_doom
Performance Results
The performance results shown below were measured on a PC with an i5-13420H processor and 16 GB of RAM. The program ran with 12 threads during the rendering phase, SIMD optimization was active, and a BVH acceleration structure was used. Since my program does not use the GPU, the GPU hardware is irrelevant. These results were obtained from a single run.
| Scene | Json parse and prepare time (ms) | Render time (ms) | Save image time (ms) |
|---|---|---|---|
| brickwall_with_normalmap.png | 12 | 27 | 71 |
| bump_mapping_transformed.png | 37 | 71 | 100 |
| cube_cushion.png | 9 | 20 | 30 |
| cube_perlin_bump.png | 0 | 22 | 37 |
| cube_perlin.png | 0 | 20 | 38 |
| cube_wall_normal.png | 7 | 19 | 53 |
| cube_wall.png | 4 | 20 | 63 |
| cube_waves.png | 3 | 17 | 26 |
| dragon_new.png | 470 | 709 | 194 |
| ellipsoids_texture.png | 16 | 24 | 38 |
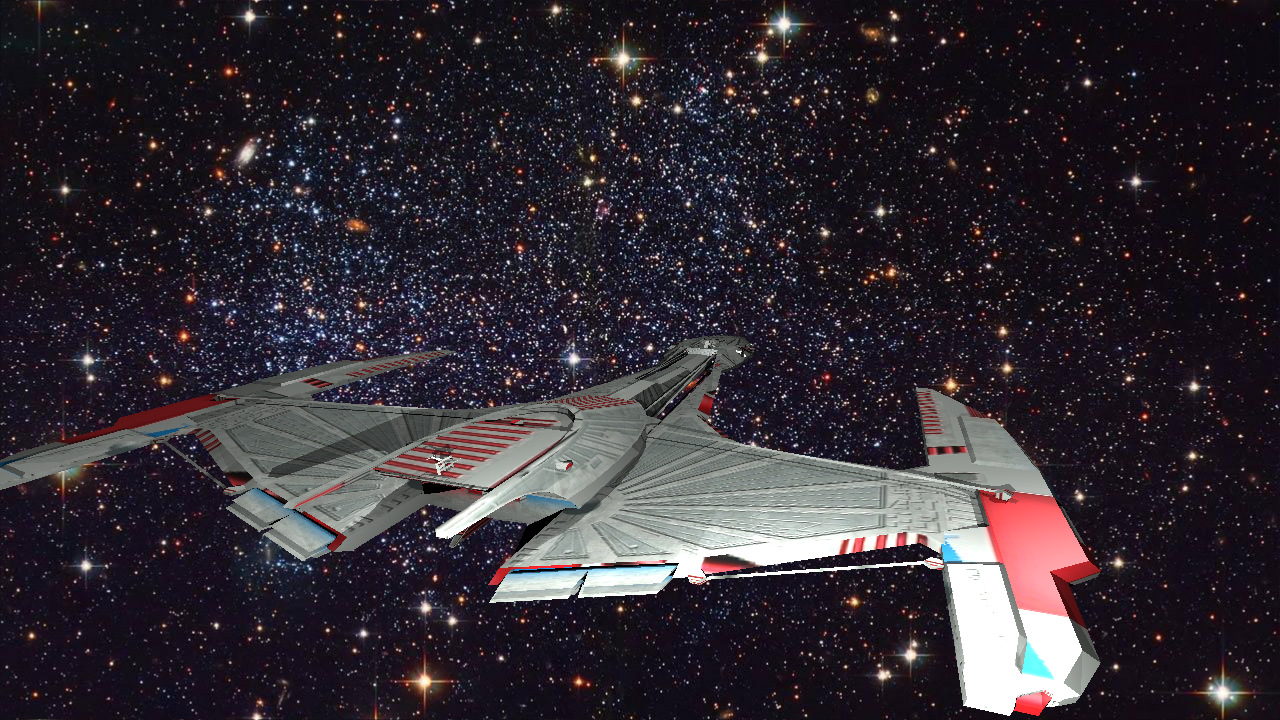
| galactica_dynamic.png | 17 | 15521 | 169 |
| galactica_static.png | 16 | 101 | 163 |
| killeroo_bump_walls.png | 132 | 2262 | 107 |
| mytap_final.png | 47 | 167001 | 113 |
| plane_bilinear.png | 6 | 14 | 28 |
| plane_nearest.png | 7 | 14 | 20 |
| plane_trilinear.png | 6 | 13 | 28 |
| sphere_nearest_bilinear.png | 7 | 25 | 27 |
| sphere_nearest_trilinear.png | 6 | 11 | 27 |
| sphere_nobump_bump.png | 3 | 20 | 48 |
| sphere_nobump_justbump.png | 2 | 14 | 42 |
| sphere_normal.png | 29 | 2078 | 48 |
| sphere_perlin_bump.png | 0 | 18 | 30 |
| sphere_perlin_scale.png | 0 | 25 | 40 |
| sphere_perlin.png | 0 | 19 | 28 |
| VeachAjar.png | 310 | 10532 | 36 |
| wood_box_all.png | 5 | 24 | 50 |
| wood_box_no_specular.png | 5 | 22 | 63 |
| wood_box.png | 9 | 30 | 73 |
Self-Critique
The VeachAjar scene render currently looks terrible, which I suspect is due to an issue with the PLY file loading. I plan to investigate and fix this in the future. Additionally, I did not implement trilinear interpolation as it was an optional feature.