This blog has been written as a homework assignment for the Middle East Technical University 2025-2026 CENG 795 Special Topics: Advanced Ray Tracing course by Şükrü Çiriş. It aims to present my raytracer repository, which contains the code developed for the assignment.
Homework 5
Newly Added Features For Homework 5
- HDR Rendering: Support for high dynamic range output using the OpenEXR format (tinyexr).
- Tone Mapping: Implementation of Photographic (Reinhard), ACES, and Filmic tone mapping operators with configurable key value, burn-out, saturation, and gamma.
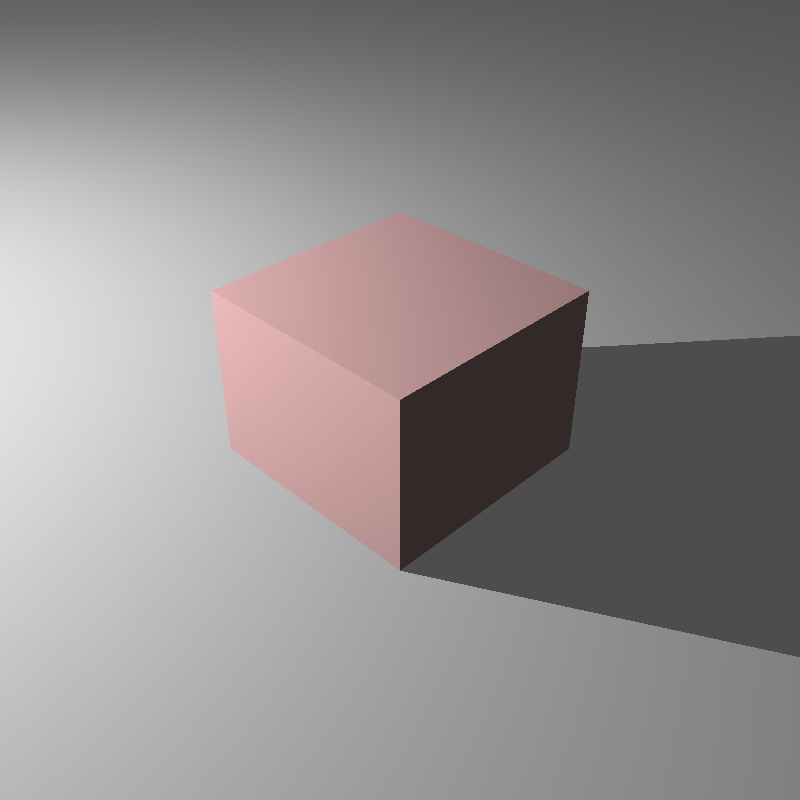
- Directional Lights: Infinite lights defined by direction and radiance.
- Spot Lights: Cone-based lighting with configurable coverage and falloff angles.
- Environment Lighting: Image-based lighting (IBL) using Latitude-Longitude maps and Light Probes with importance sampling.
HDR Rendering and Tone Mapping
This assignment was a huge step forward because we finally moved away from the limitation of standard 0-255 color values. Up until now, my raytracer clamped pixel colors to a limited range, which meant losing a lot of information in bright areas. For this homework, I upgraded the system to support High Dynamic Range (HDR) rendering. This means the renderer now accumulates radiance values in floating-point buffers, capturing the full range of light intensity calculated during the simulation. To actually save this data without losing quality, I integrated the tinyexr library into my project, which allows me to export the results directly as .exr files.
Of course, the problem with HDR images is that standard monitors can't display them directly. To bridge this gap, I had to implement a complete tone mapping pipeline. The process starts by calculating the luminance of each pixel using standard perception-based weights, which basically tells us how bright each pixel appears to the human eye. After that, I calculate the log-average luminance of the entire scene to determine the "key" of the image, which helps in scaling the brightness appropriately. For the actual dynamic range compression, I implemented the global Photographic (Reinhard) operator. This one is really useful because it uses a "burn-out" parameter to map high luminance areas to white, which helps preserve details in the really bright parts of the image instead of just blowing them out. I didn't stop there, though; I also included ACES and Filmic operators to give the images a more cinematic, high-contrast look that you often see in movies and games. Once the compression is done, the code reconstructs the RGB values and optionally saturates them to keep the colors looking vibrant. Finally, the image goes through gamma correction and quantization so it can be saved as a standard PNG for display.
Advanced Lights
Lighting is what makes a raytraced scene look real, so I spent a good amount of time expanding the lighting system to support three new types of light sources.
Directional Lights
First up are Directional Lights. I implemented these as the DirectionalLight class. You can
think of these essentially like the sun, they are light sources that are infinitely far away. Because of
this, they don't have a specific position in the scene, just a direction and a radiance value. Since they
are effectively at an infinite distance, I didn't apply any distance attenuation logic. This means the light
intensity remains constant no matter where an object is located in the scene, which simplifies things a bit
but is great for simulating outdoor sunlight.
Spot Lights
Next, I added Spot Lights via the SpotLight class. These are really fun to play with because
they emit illumination within a specific, defined cone, kind of like a flashlight or a stage light. Unlike
directional lights, the intensity here diminishes with distance according to the inverse square law, which
makes them behave more like physical light bulbs. To make them look realistic, I implemented a smooth
angular falloff. Instead of a hard edge where the light just cuts off, the intensity transitions smoothly
from full brightness within the falloff angle to zero outside the coverage angle. I achieved this using a
cosine-based interpolation, which ensures soft, natural-looking edges around the spotlight's area of
influence.
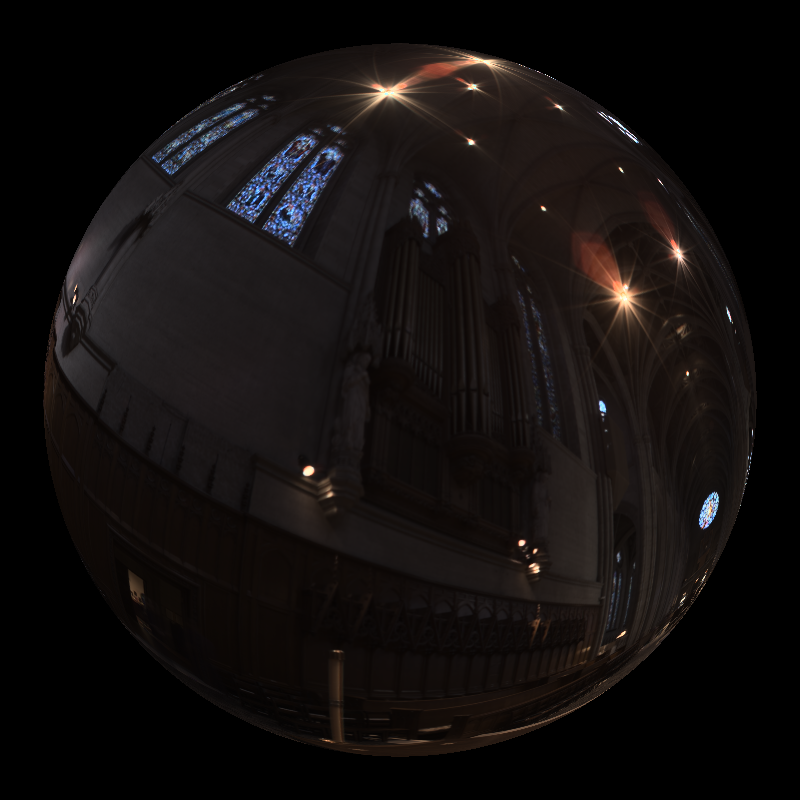
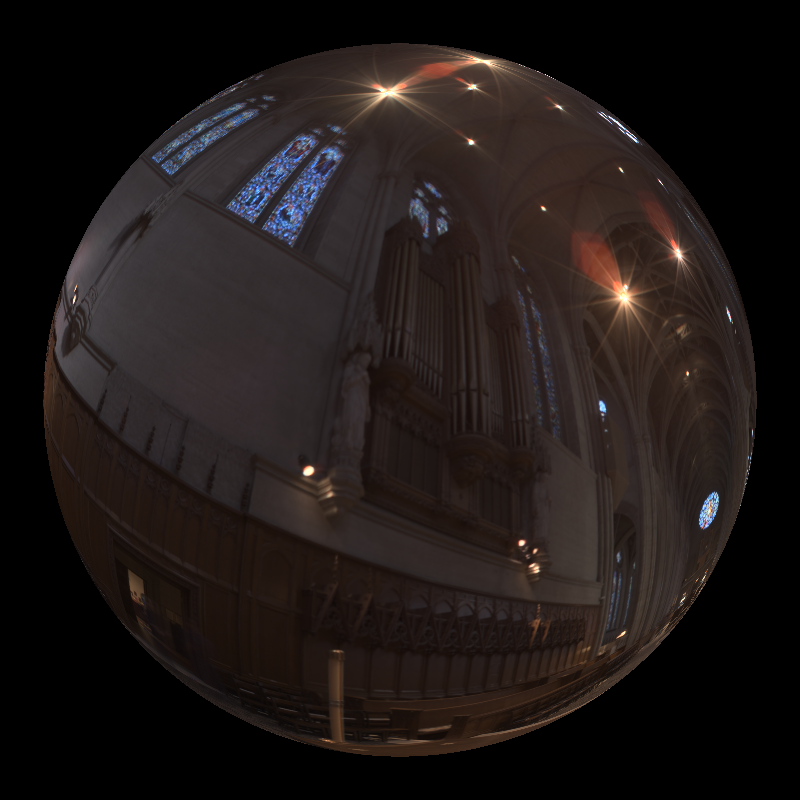
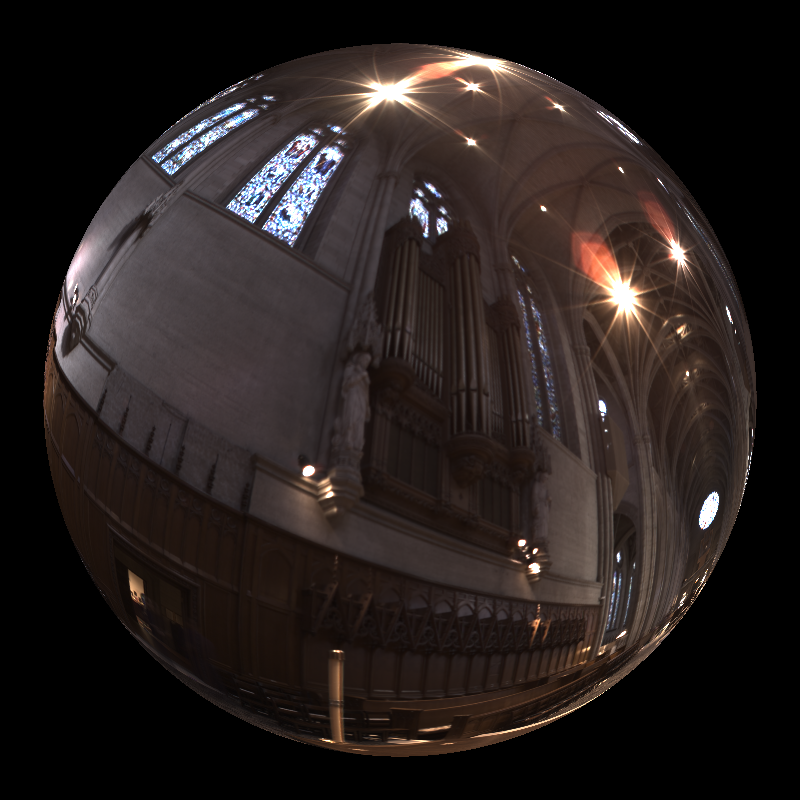
Environment Lights
The biggest addition to the lighting system was definitely the Environment Lights, implemented as
SphericalDirectionalLight. This feature allows me to illuminate the entire scene using high
dynamic range environment maps, which basically wraps the scene in a 360-degree image. I added support for
both Latitude-Longitude and Light Probe formats. One major issue with this kind of lighting is noise, so to
improve the rendering quality, I implemented importance sampling. Instead of just picking random directions
uniformly when sampling the light, my code uses a cosine-weighted distribution to prioritize directions
closer to the surface normal. This means we send more rays where they matter most. The sampled radiance is
then properly weighted to produce an unbiased lighting estimate. I also updated the ray tracing loop so that
background rays that miss all geometry sample this texture, providing a seamless backdrop that matches the
lighting.
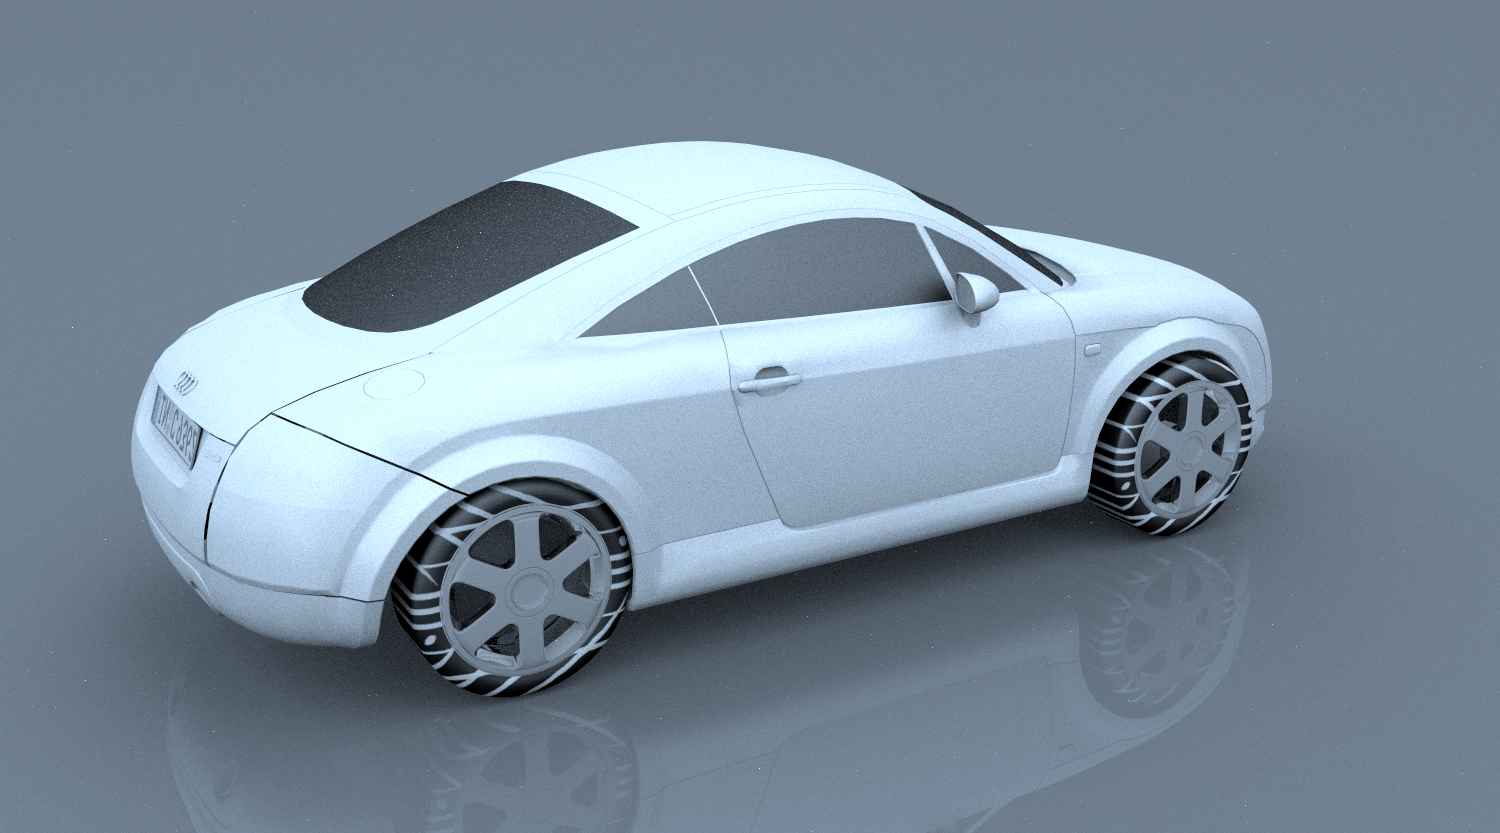
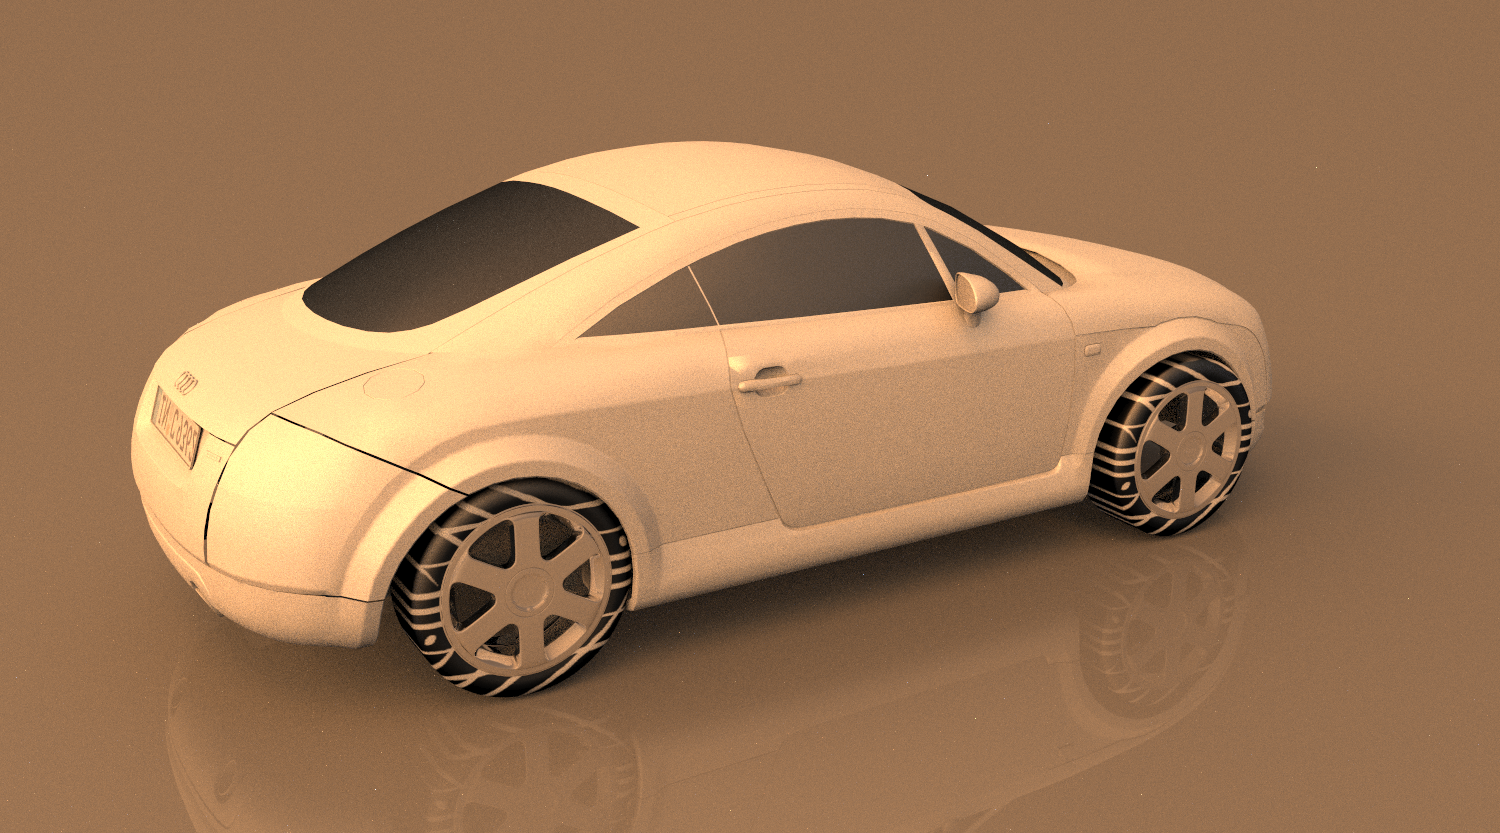
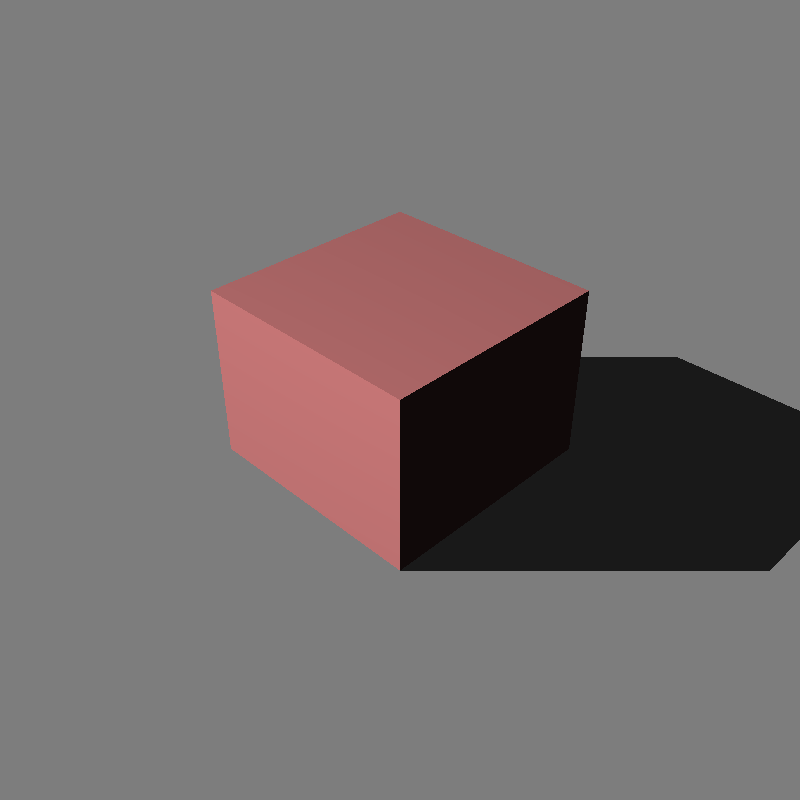
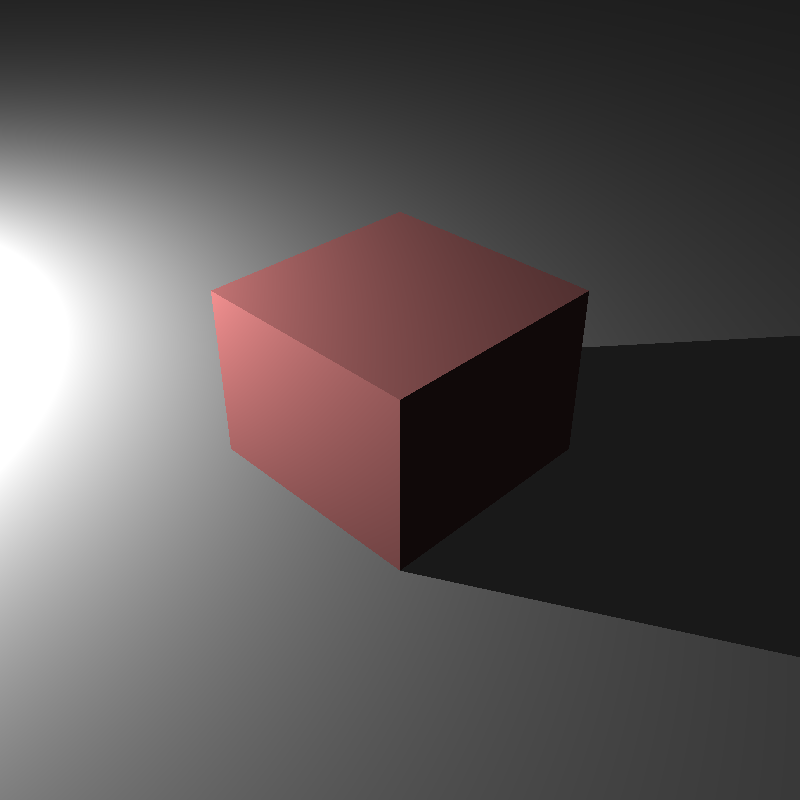
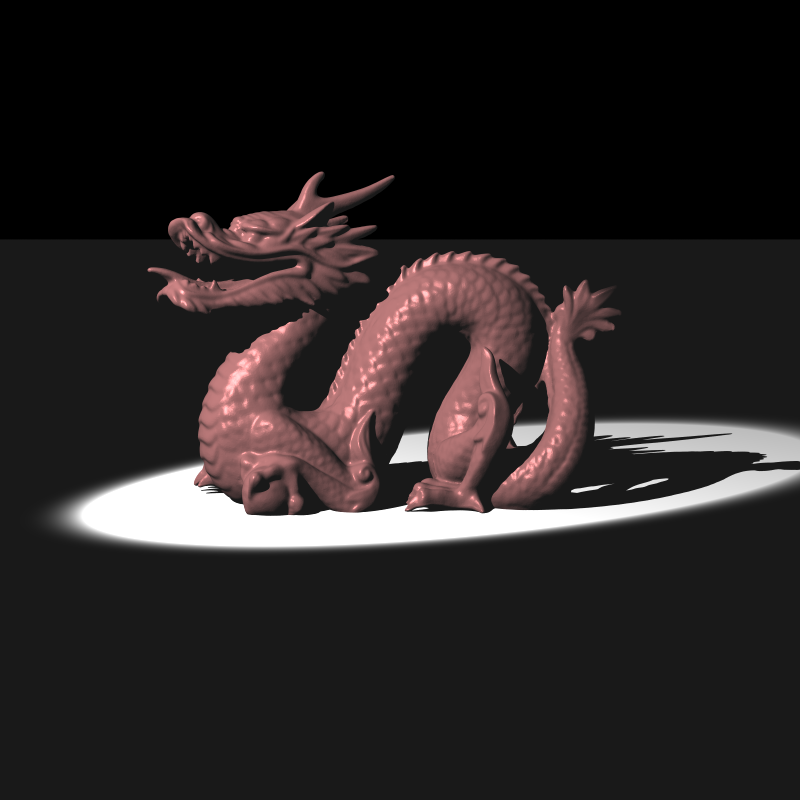
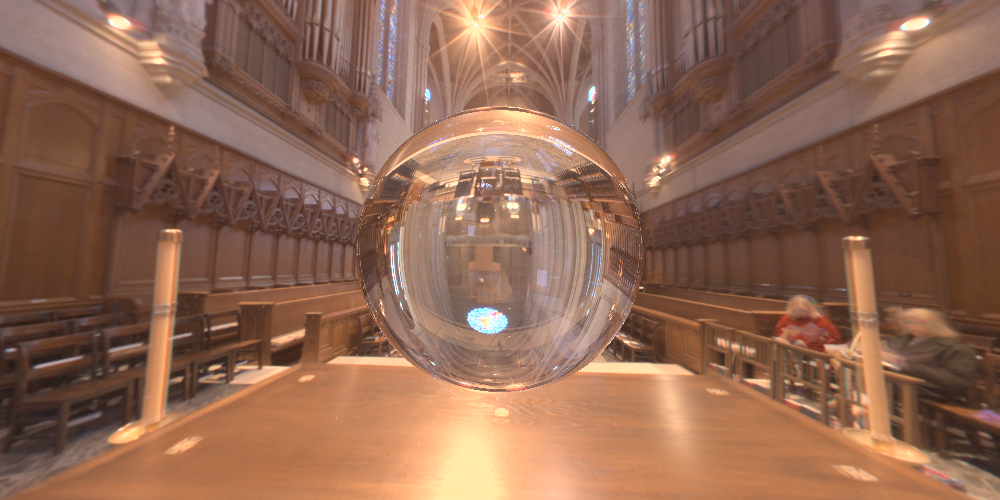
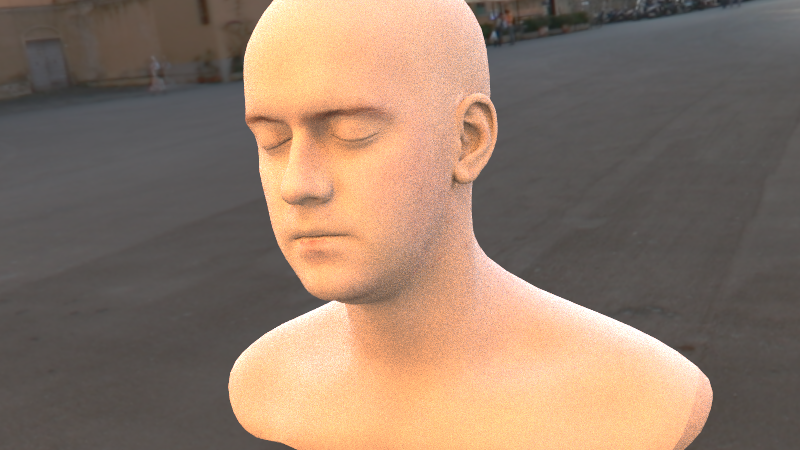
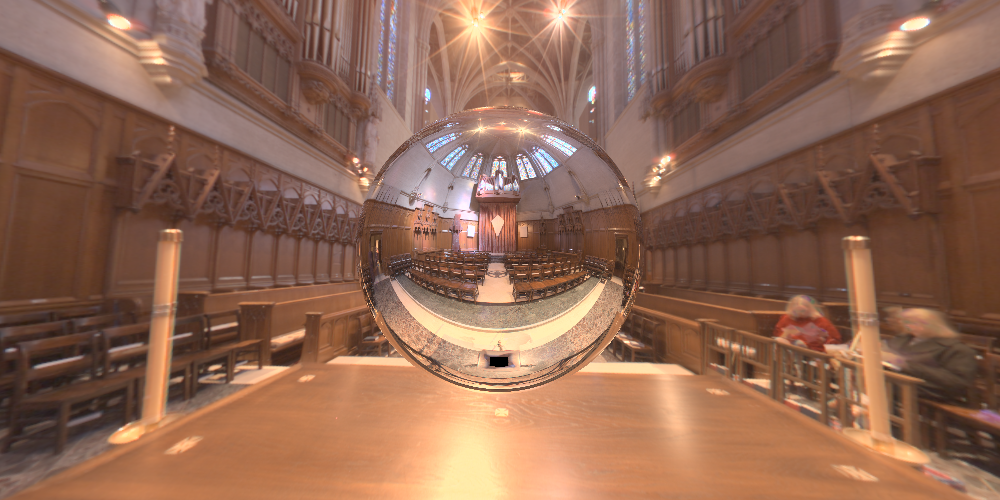
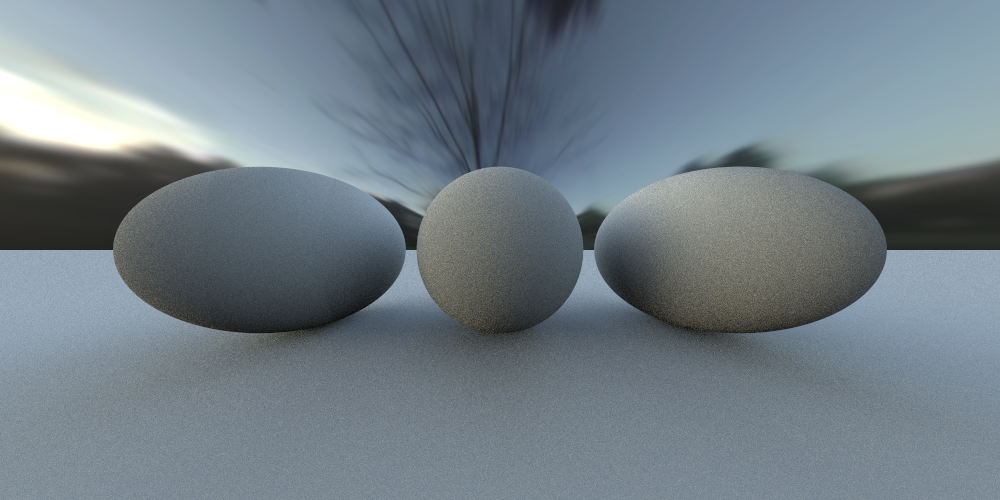
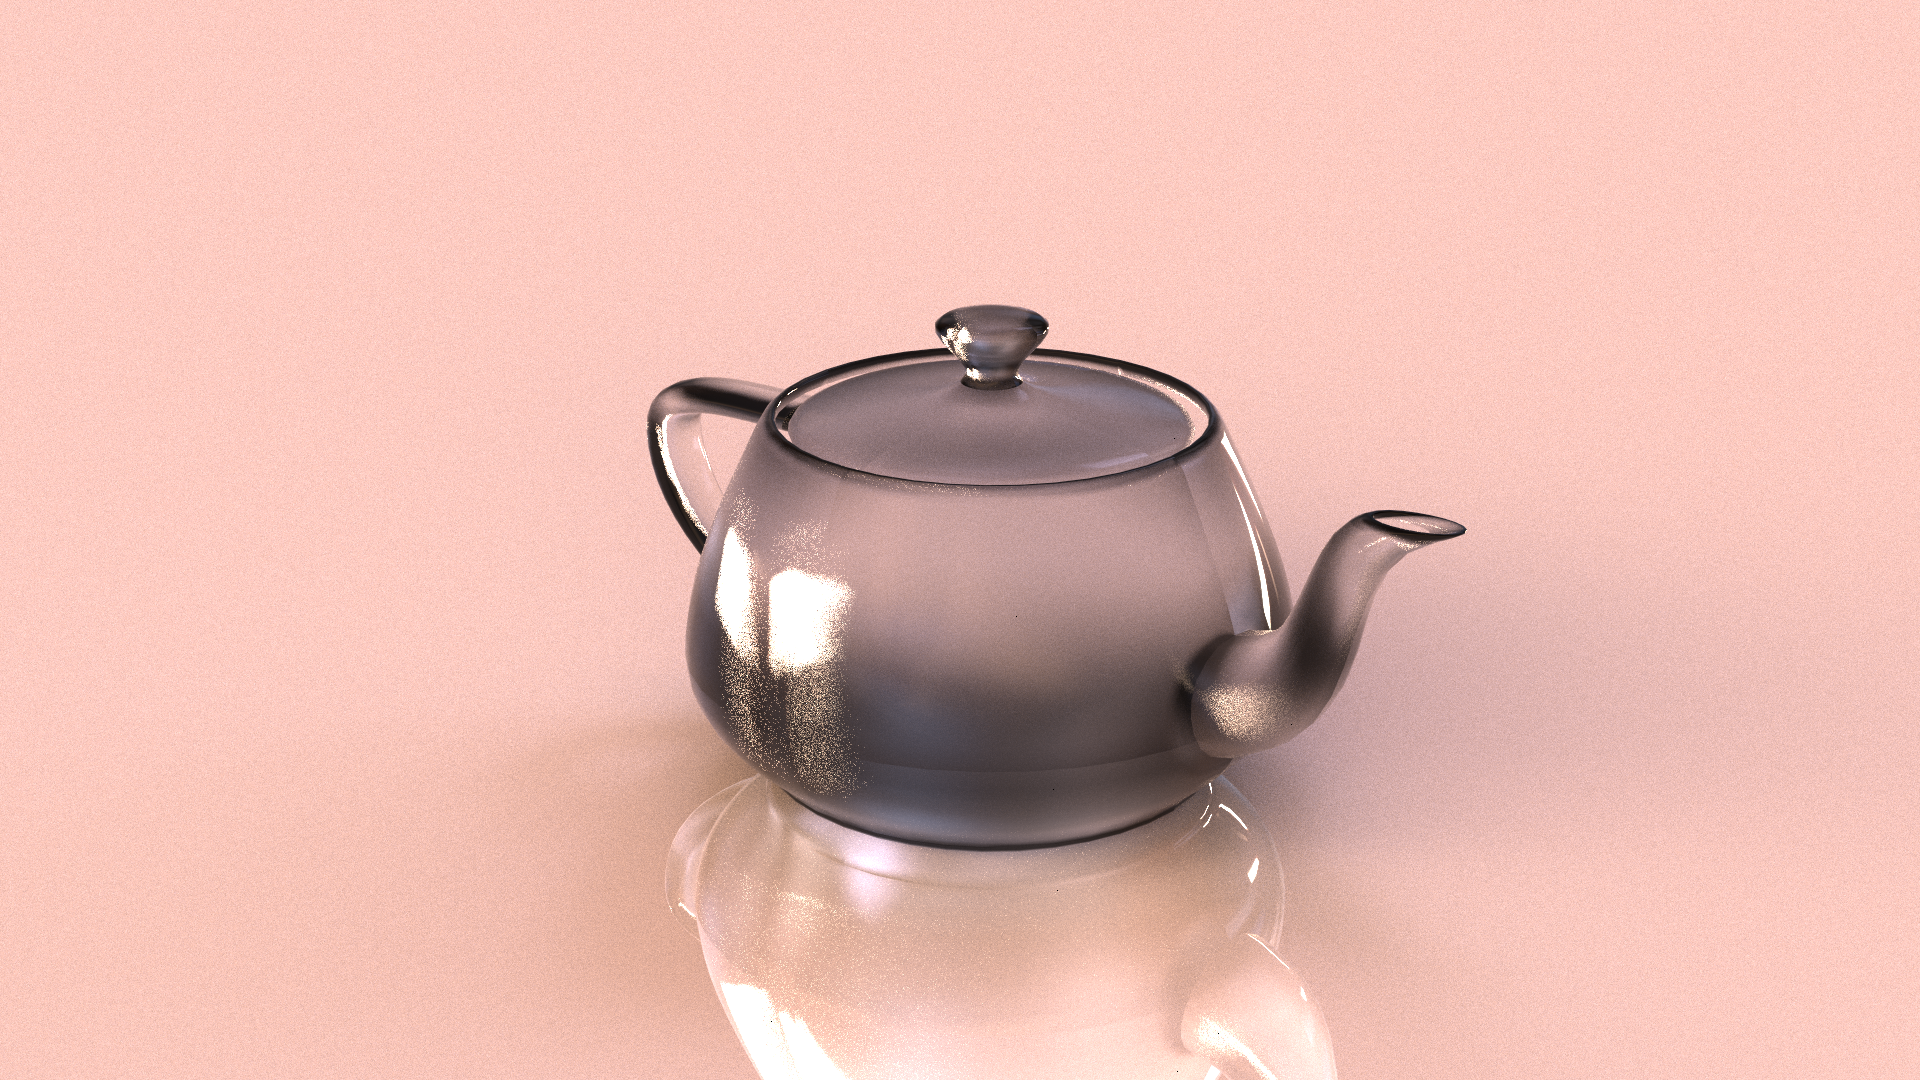
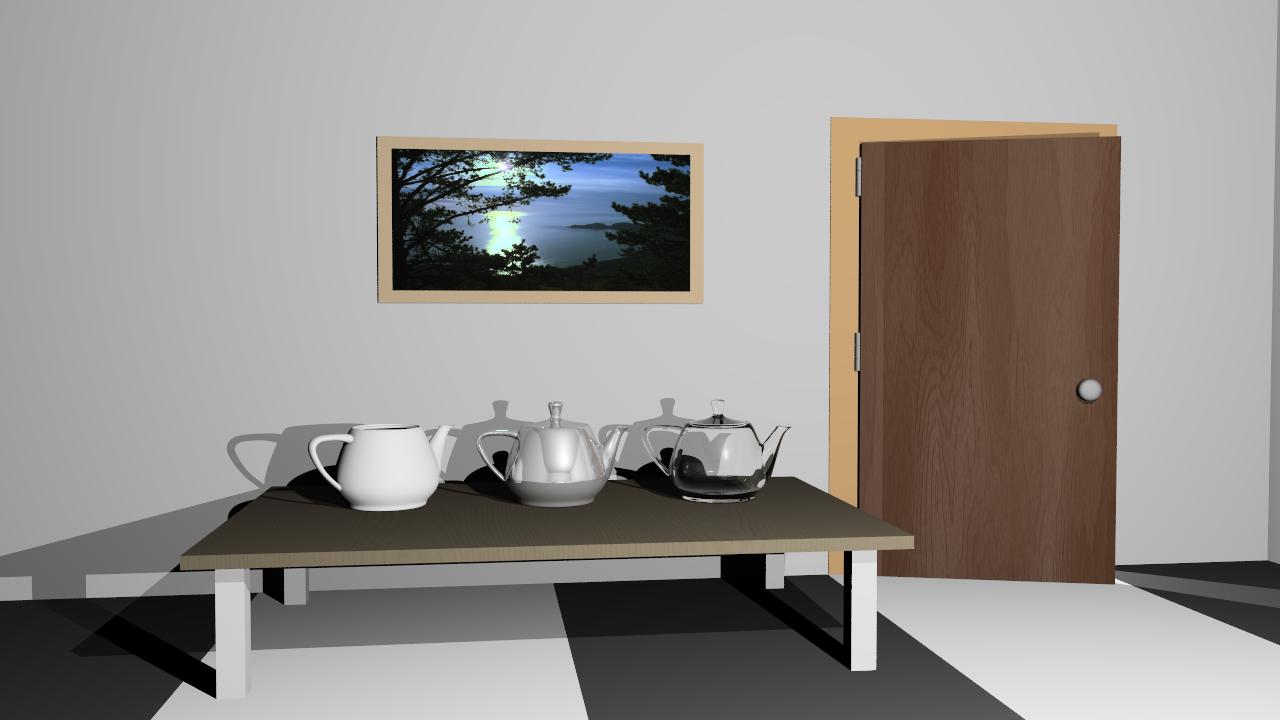
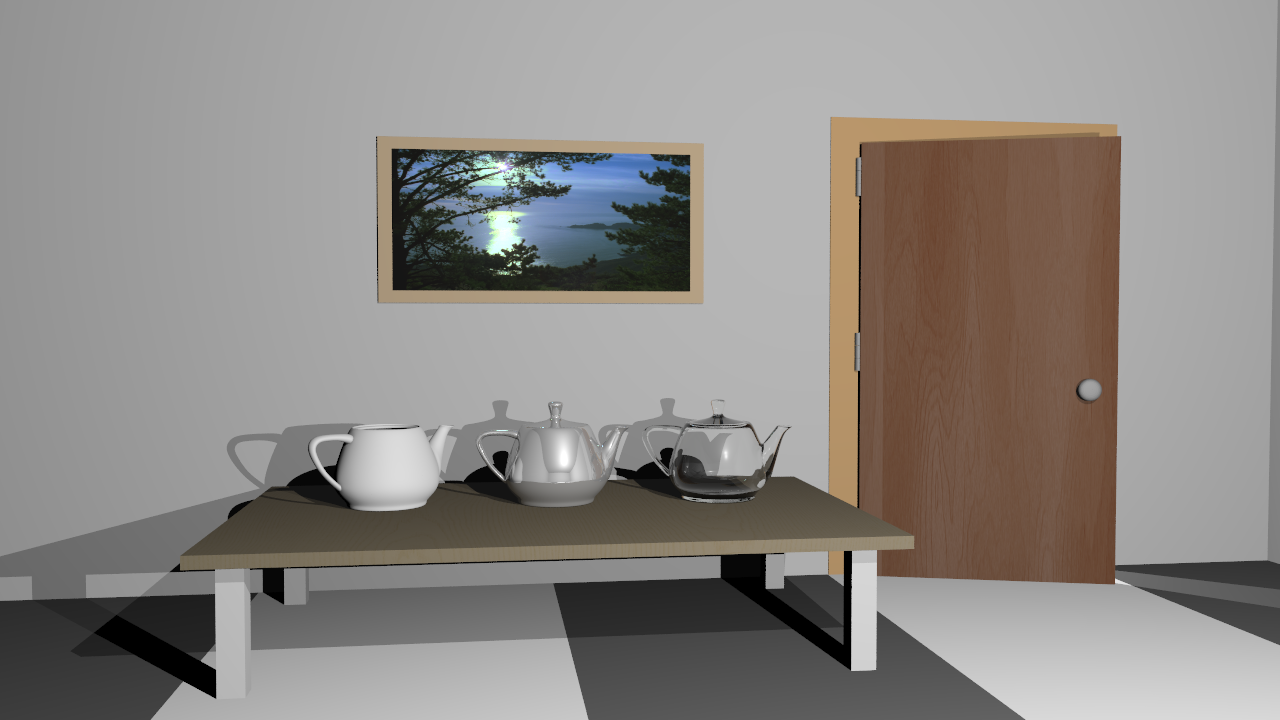
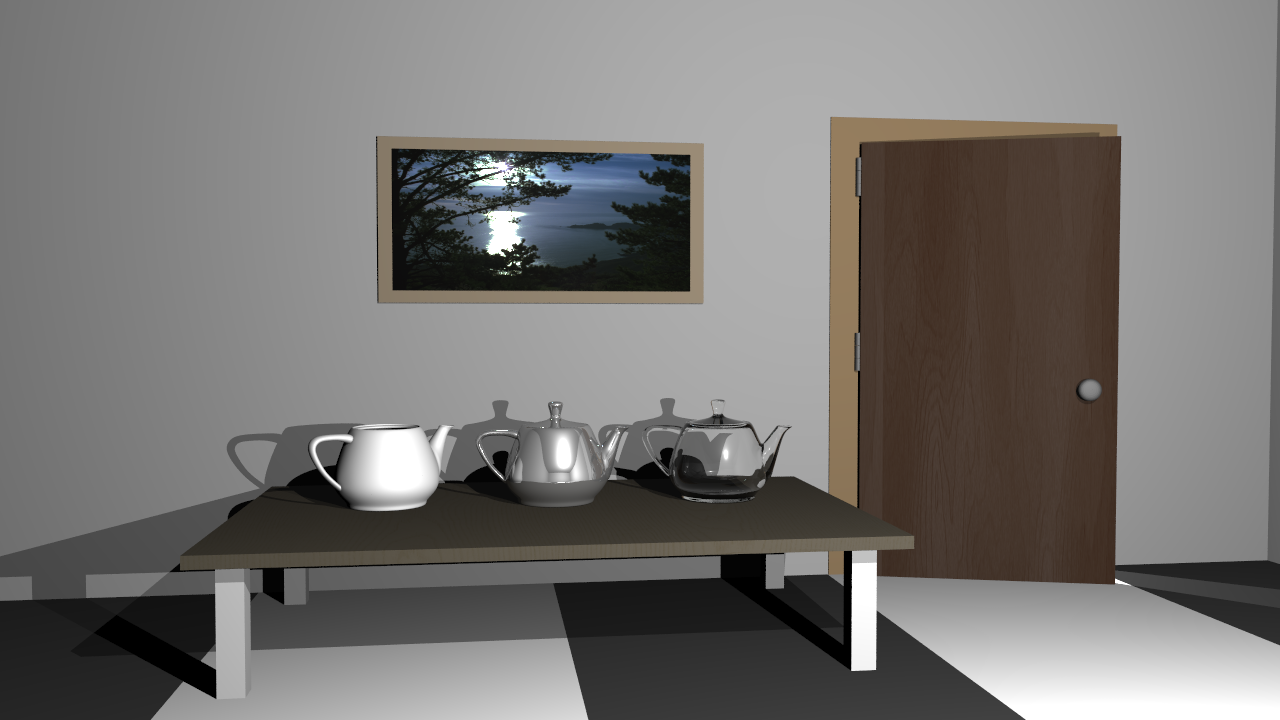
Resulting Images


Performance Results
The performance results shown below were measured on a PC with an i5-12400F processor and 16 GB of RAM. The program ran with 12 threads during the rendering phase, SIMD optimization was active, and a uniform grid acceleration structure was used. Since my program does not use the GPU, the GPU hardware is irrelevant. These results were obtained from a single run.
| Scene | Json parse and prepare time (ms) | Render time (ms) |
|---|---|---|
| teapot_roughness.exr | 74 | 1194789 |
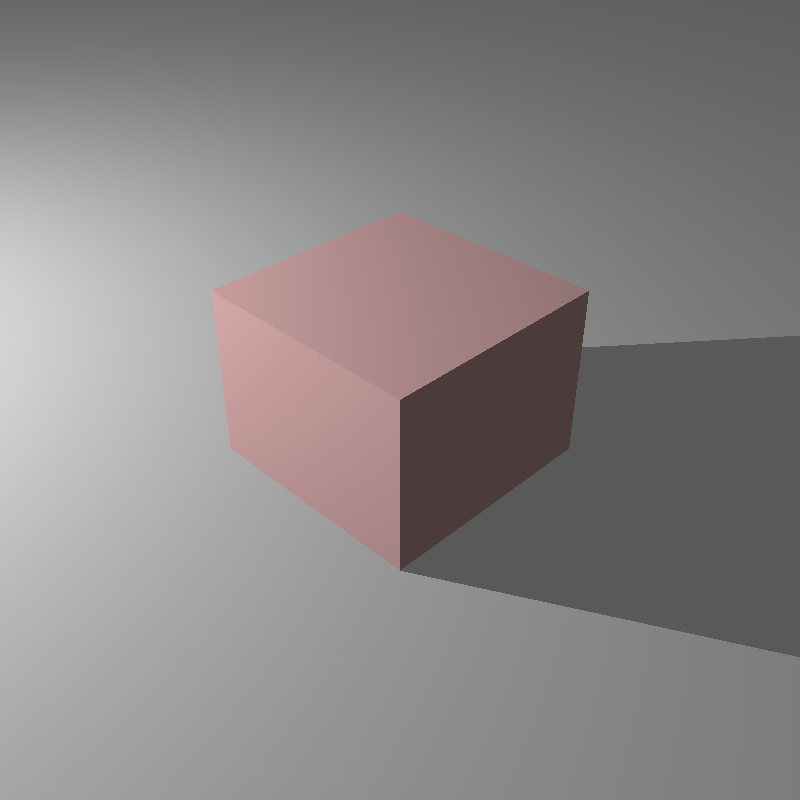
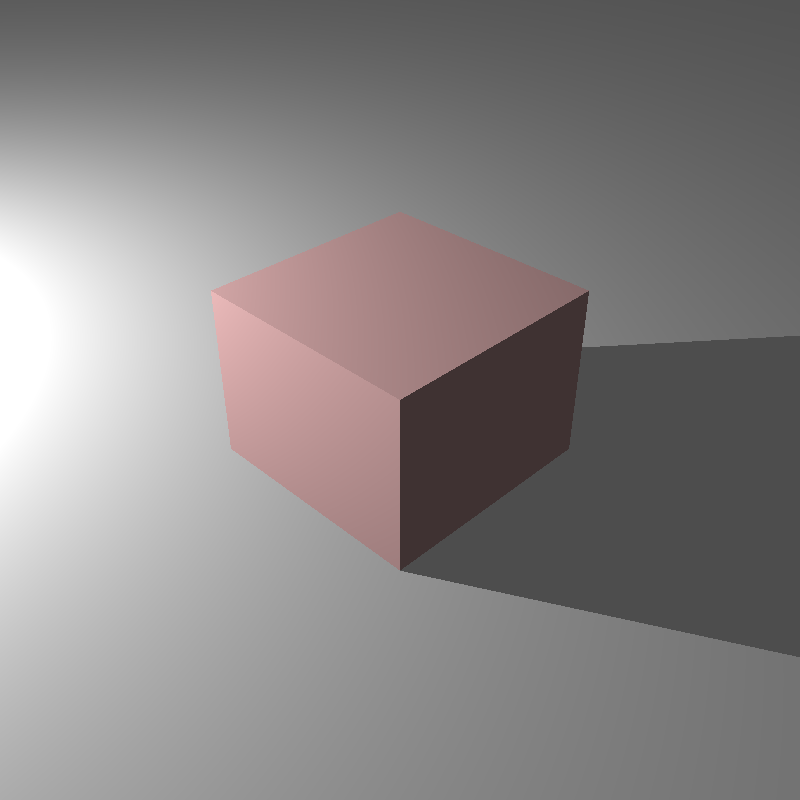
| cube_directional.png | 9 | 37 |
| cube_point.png | 5 | 36 |
| cube_point_hdr.exr | 5 | 36 |
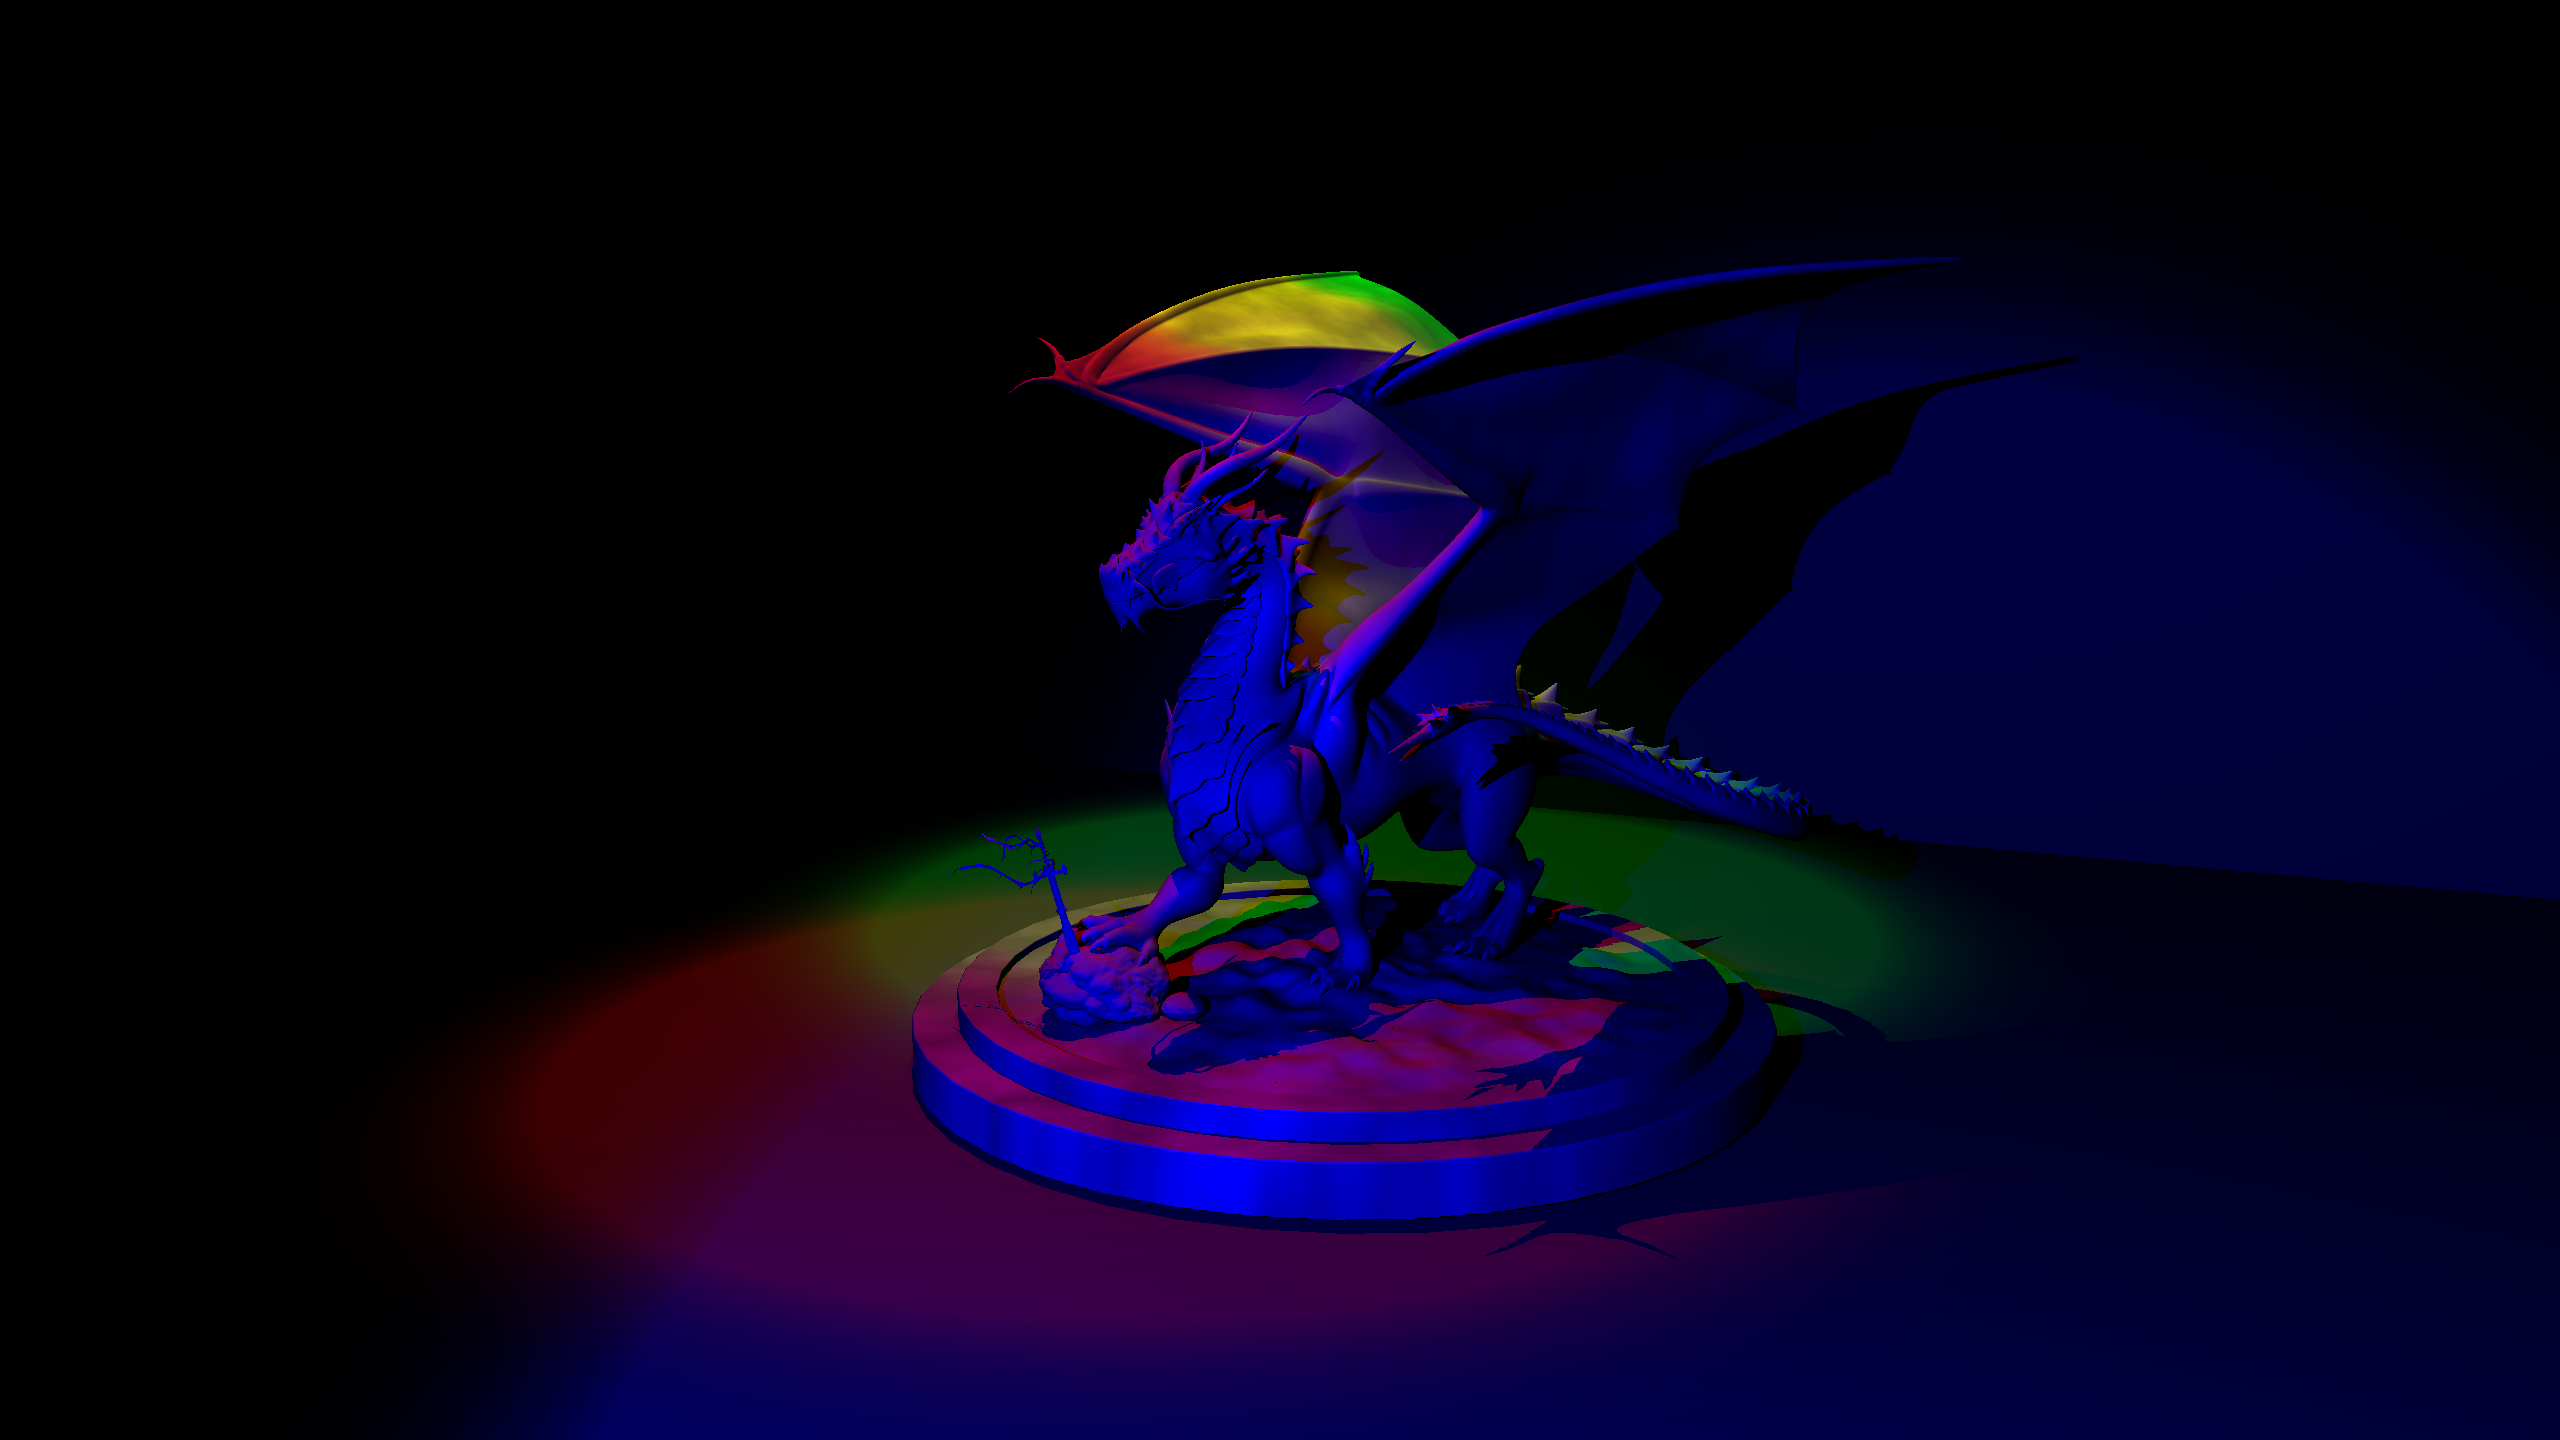
| dragon_new_with_spot.png | 517 | 606 |
| dragon_spot_light_msaa.png | 1108 | 4138 |
| empty_environment_latlong.exr | 8 | 6 |
| empty_environment_light_probe.exr | 7 | 6 |
| glass_sphere_env.exr | 38 | 35 |
| head_env_light.exr | 145 | 3109 |
| mirror_sphere_env.exr | 37 | 16 |
| sphere_env_light.exr | 8 | 22808 |
| sphere_point_hdr_texture.exr | 37 | 19 |
| audi-tt-glacier.exr | 1086 | 82784 |
| audi-tt-pisa.exr | 1084 | 84985 |
| VeachAjar.exr | 427 | 4908 |
Self-Critique
Overall, I'm pretty happy with the new features, especially the fact that EXR textures work and the tone mapping pipeline is actually functional. It really makes the lighting look way better than the simple clamping we did before. Unfortunately, the tone mapping results don't look correct to me; some colors feel a bit off. I'm planning to dig into this problem and fix it as soon as possible.